So last week I talked about the planning and design phase, the budget and aspects of the project that changed.
With that in mind - part two of the review! Lets dive right in to this picture brimming post!
Troubles and problems
I think that it is important to go over the troubles and problems I encountered during the build, as it may perhaps help others should they take on a DIY project.
The first thing that always springs to mind when I think about the build was the quality of the wood. I was fortunate that when I came to purchase the battens (that would become the frame), I was able to get a good deal on an already cheap price. But as always, cheaper prices cost you in quality. The battens that I used were very poor quality, they were knot ridden and split easily. Considering I was using some more advanced woodworking joints, I should have made sure I purchased better quality wood.
This said - once I got a feel for the wood I did manage to make it work, though the process was somewhat more stressful than I would have liked.
Also on the topic of wood. Although plywood is the best wood to use in terms of quality I did find that the only plywood sheets BNQ seemed to stock were very warped. This made things very difficult in terms of lining up the panels and keeping everything flush. I have checked the plywood sheets from Wickes and the quality is much higher (and the prices are lower), unfortunately they do not offer the cutting service. This may be something to consider when purchasing sheet materials. If you know someone who can cut the wood for you, it may be better to look elsewhere to find the best sheets.
Tip: When choosing wood to create your frame (if using a frame is the route you wish to follow), you are best looking for smoothed and planed wood instead of sawn. The quality of wood tends to be higher, is easier to square and much easier to work with.
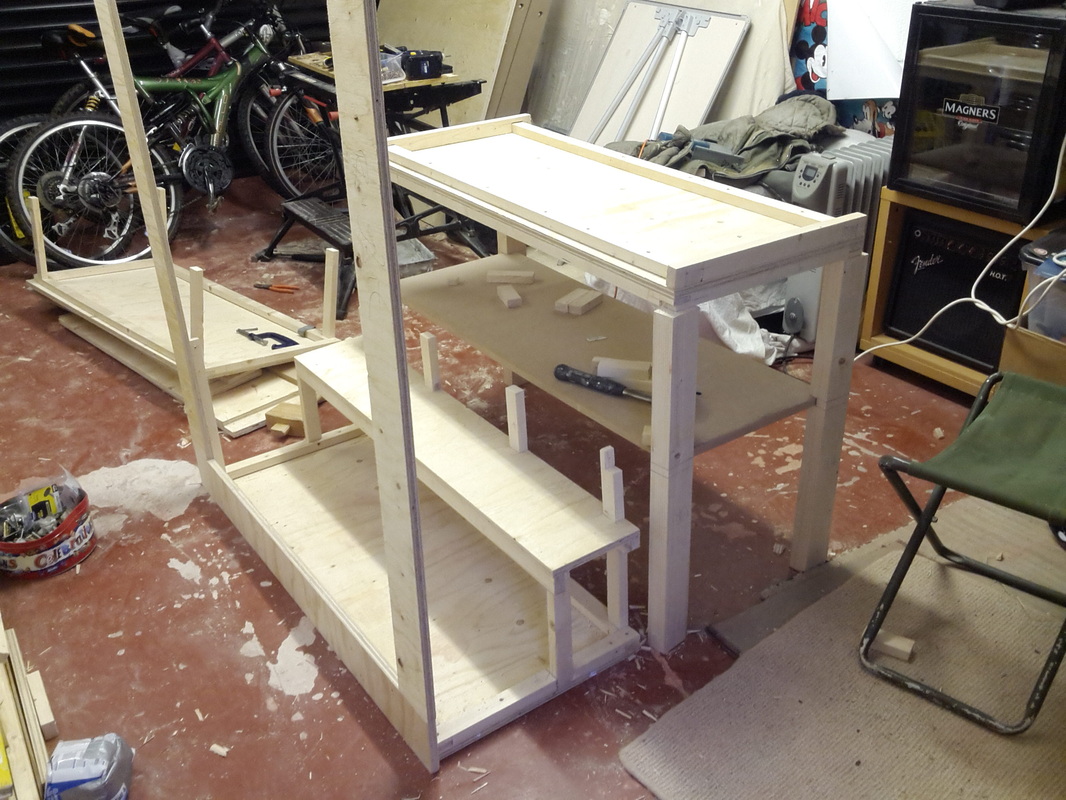
Another problem was deciding which to build first. Do I build the enclosure first then lie it on its back to construct and attach the trolley? Or do I build the trolley first then develop the enclosure? I chose the first option, but I really wish I had chosen the second. If I could start again, I would have built the trolley before even purchasing the plywood sheets. I would then have measured the top of the trolley (after making sure its square) to get exact measurements for sheet materials.
Apart from this the build was trouble free (despite attaching all the mesh which is always a time consuming and boring task!).
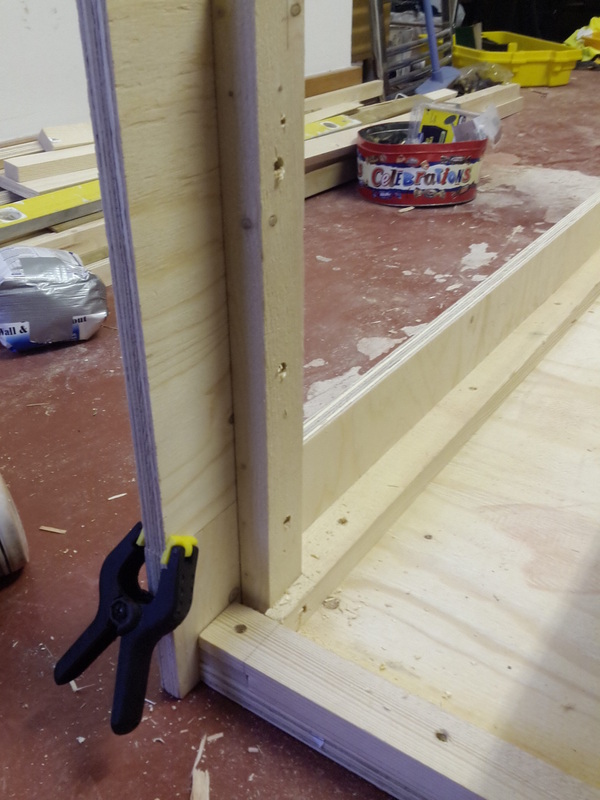
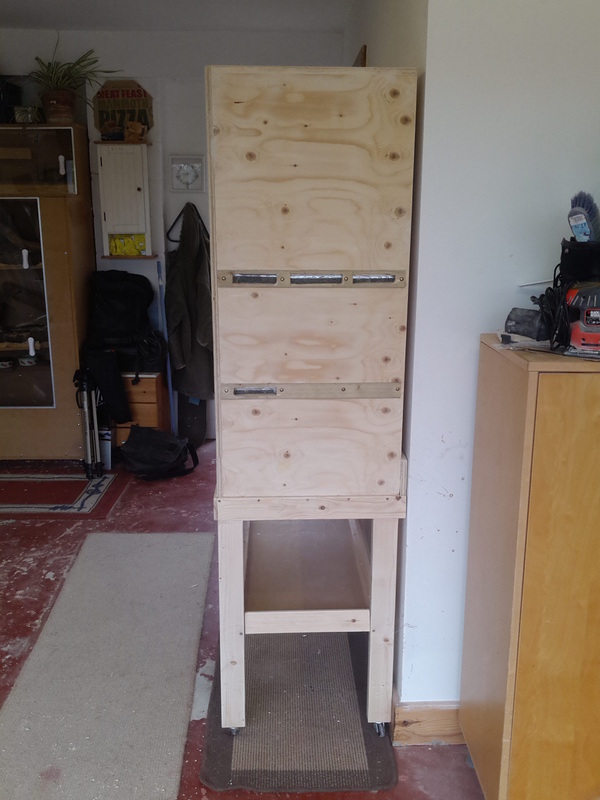
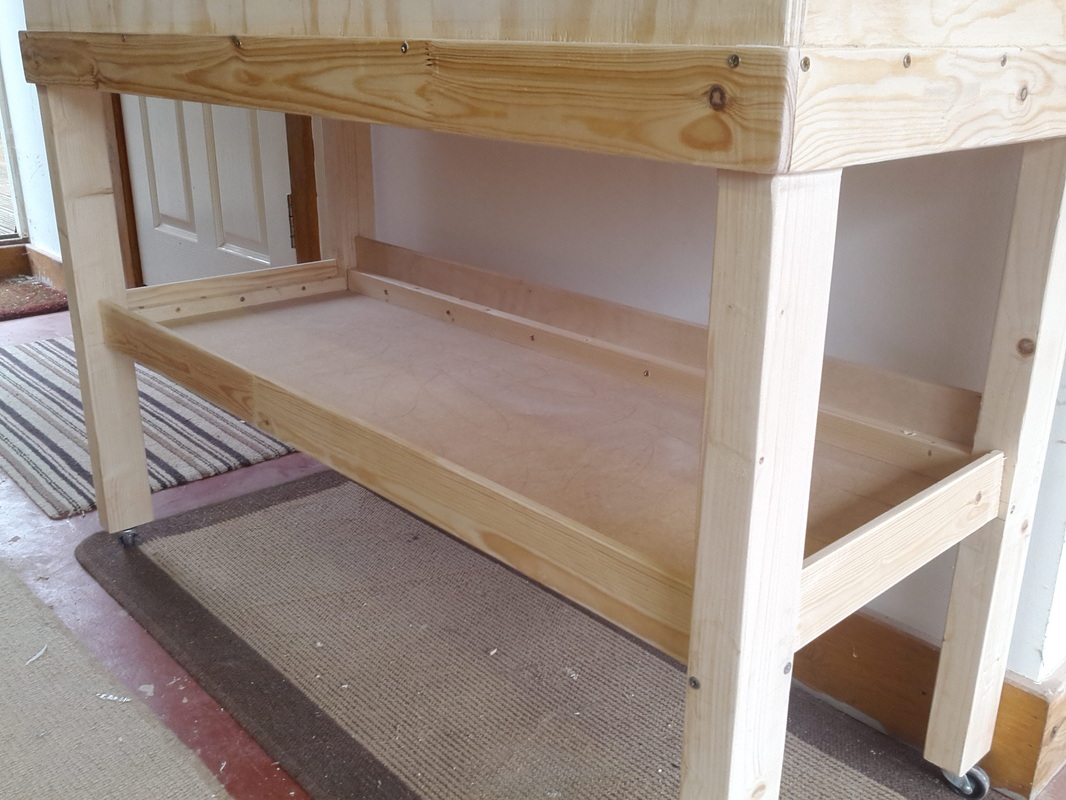
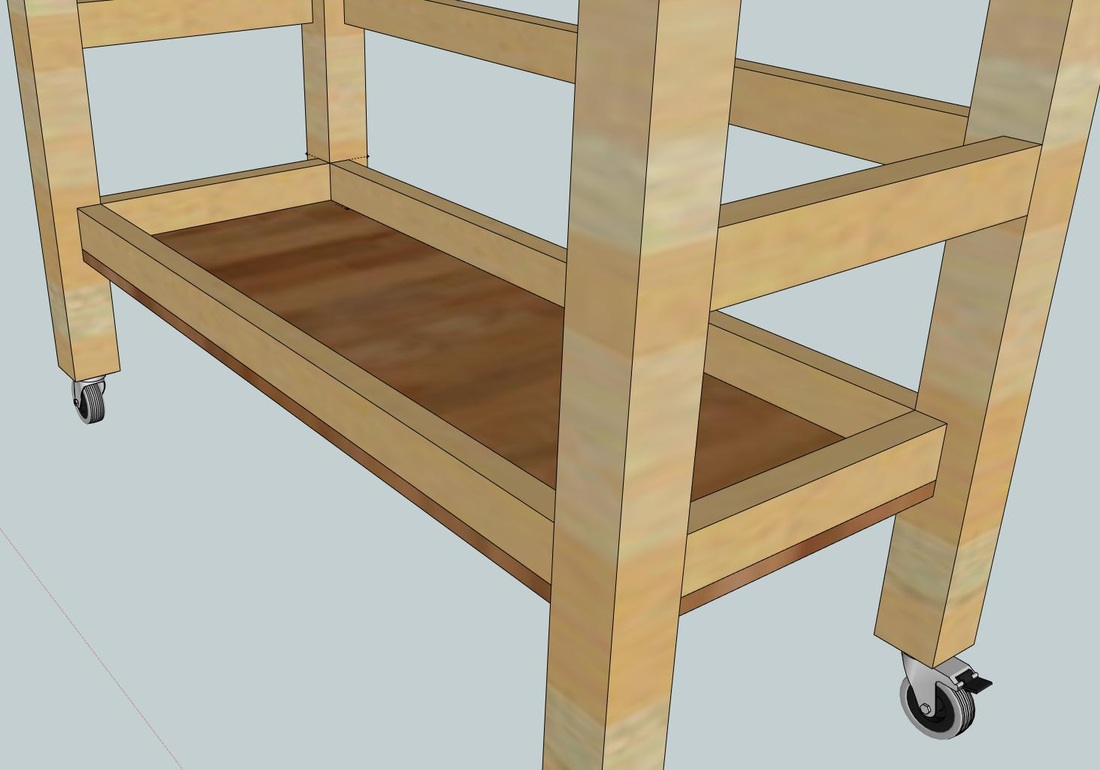
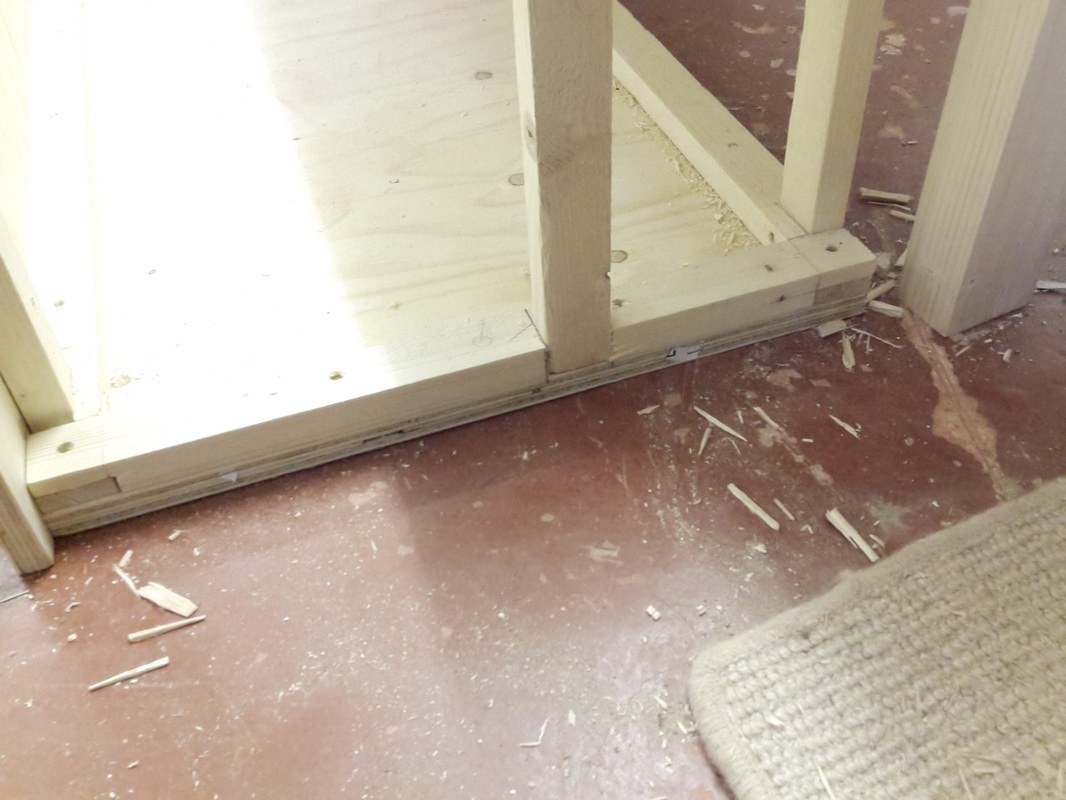
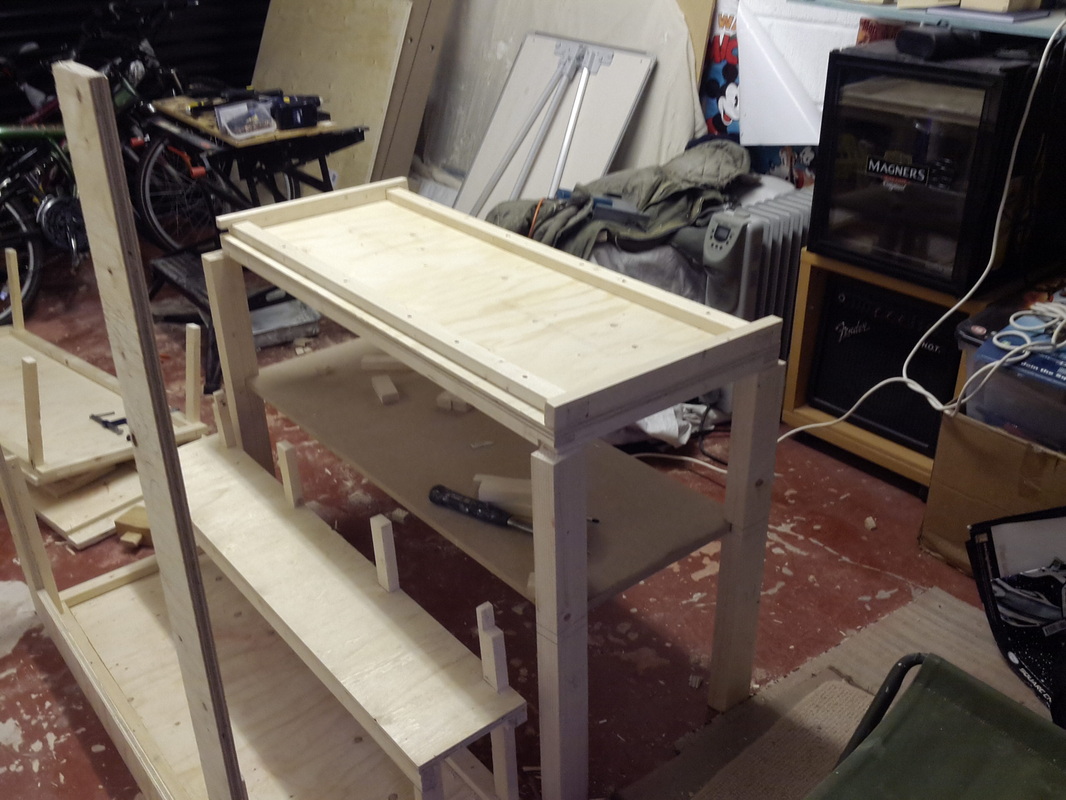
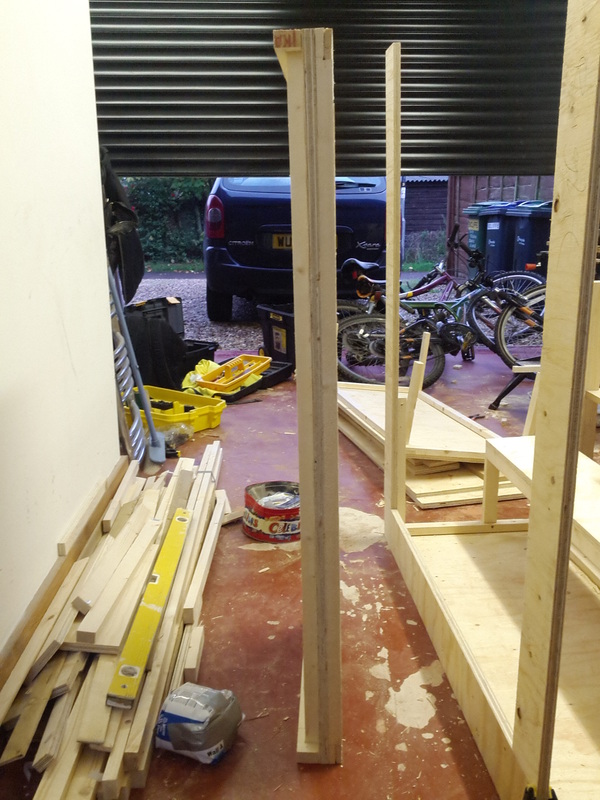
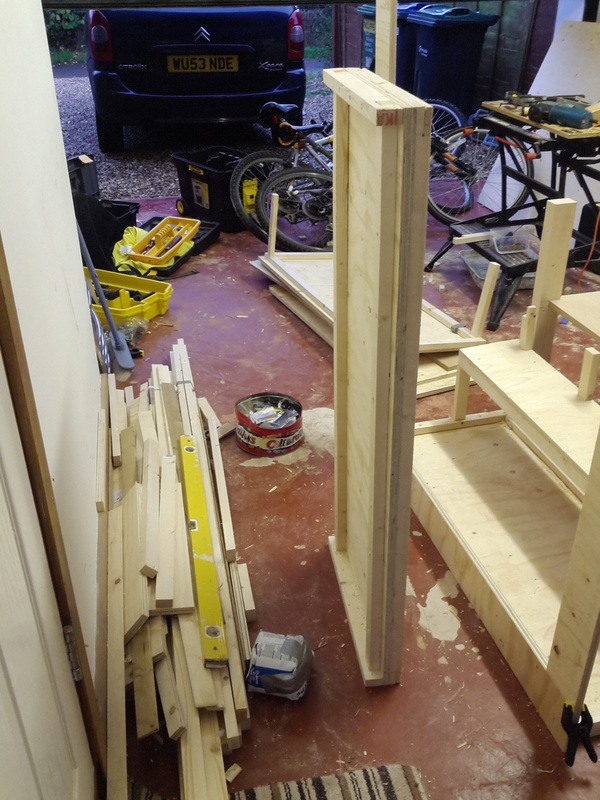
As you can see, I had a rough idea for the size of the stand/trolley and had to try and make the base of the enclosure fit.
It took a long time to get the trolley legs in line with the base of the enclosure without loosing the needed support.
Successes
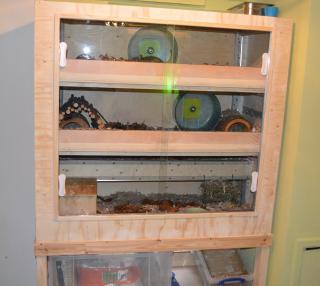
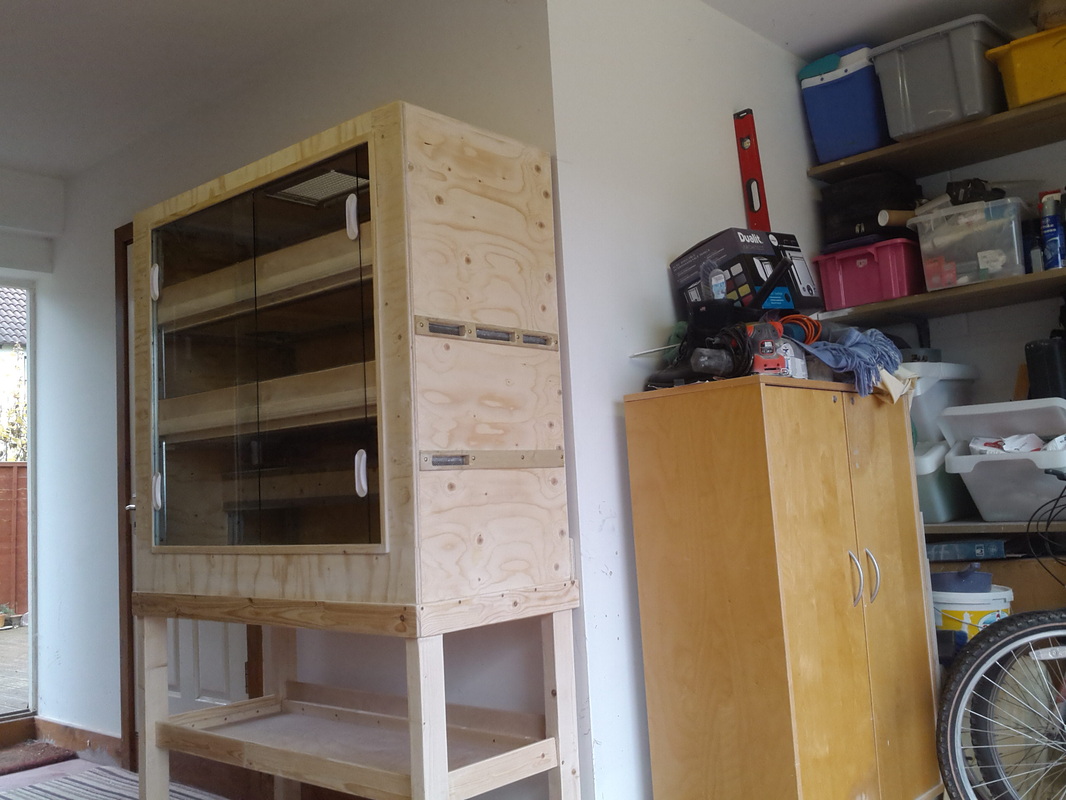
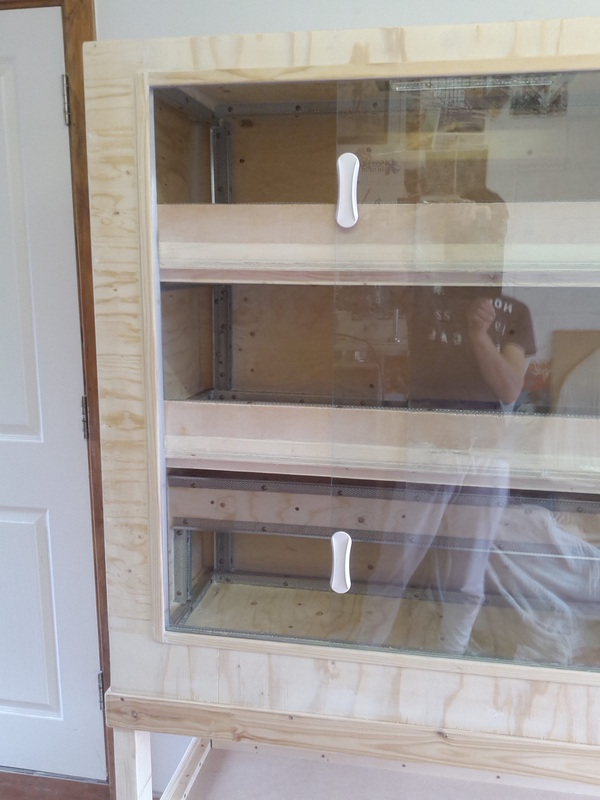
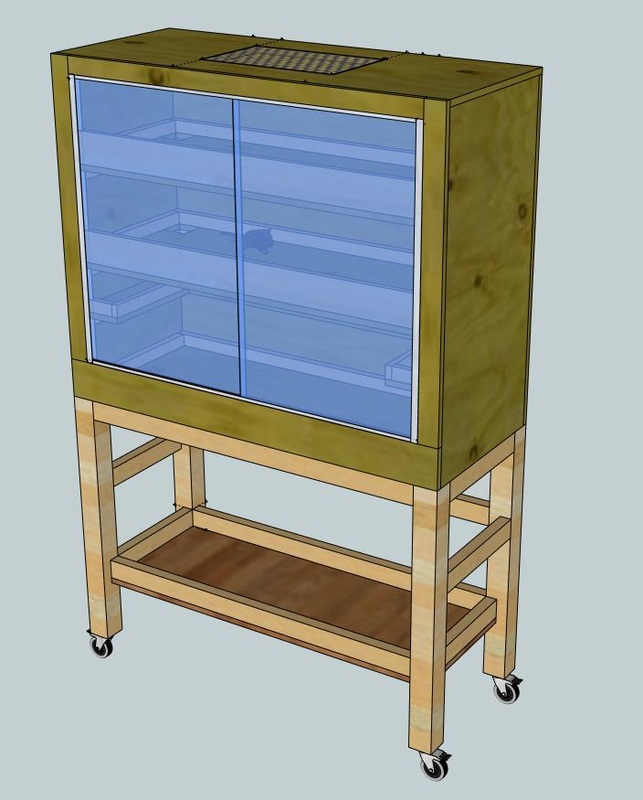
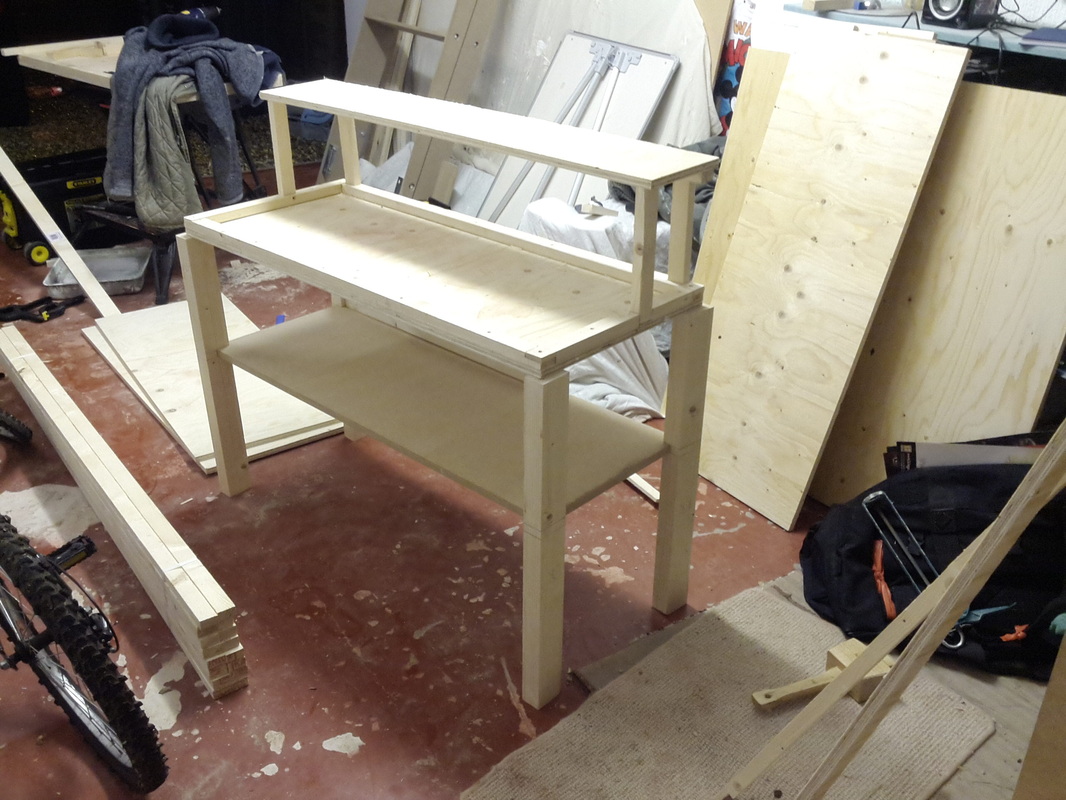
Success! I am so happy with the final product (only a few small niggles I would change)!
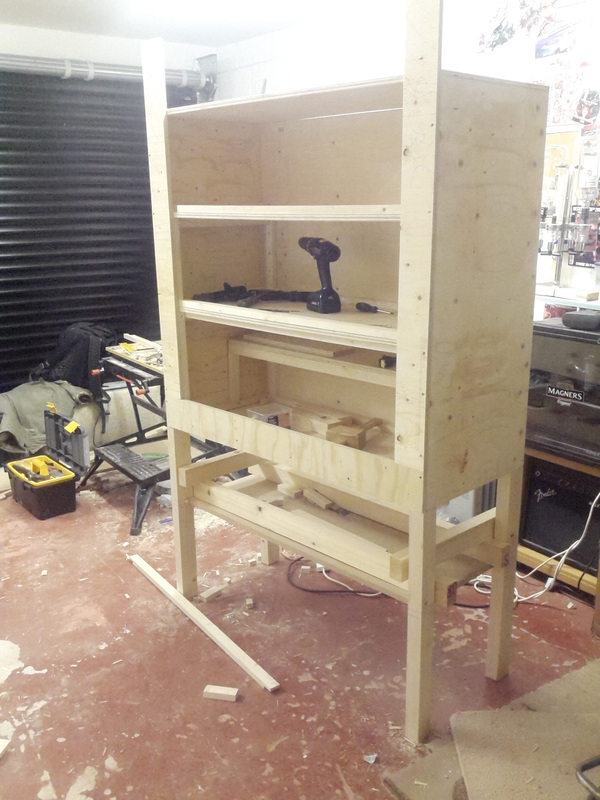
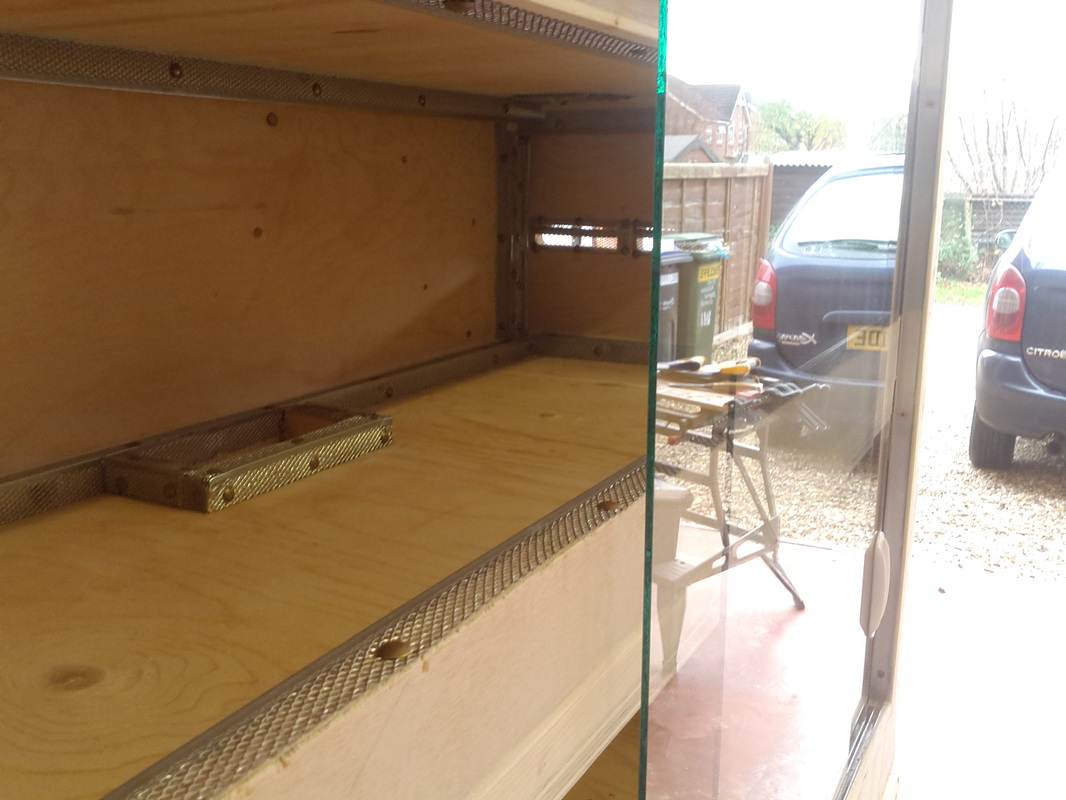
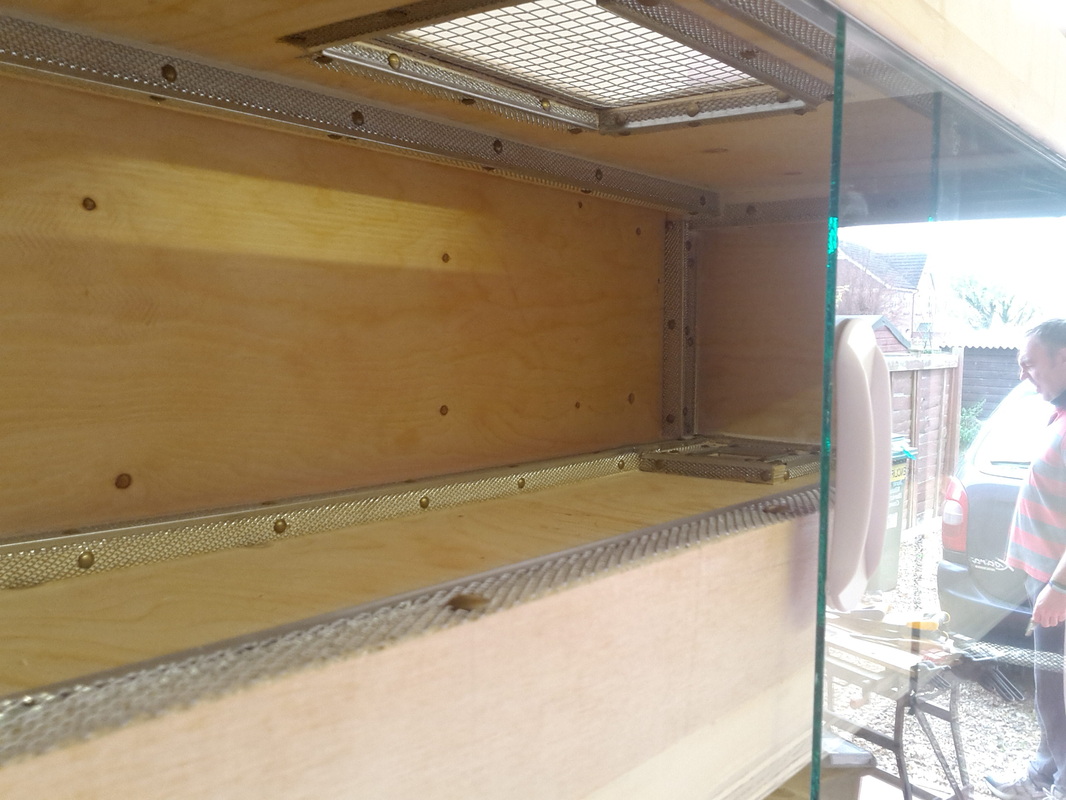
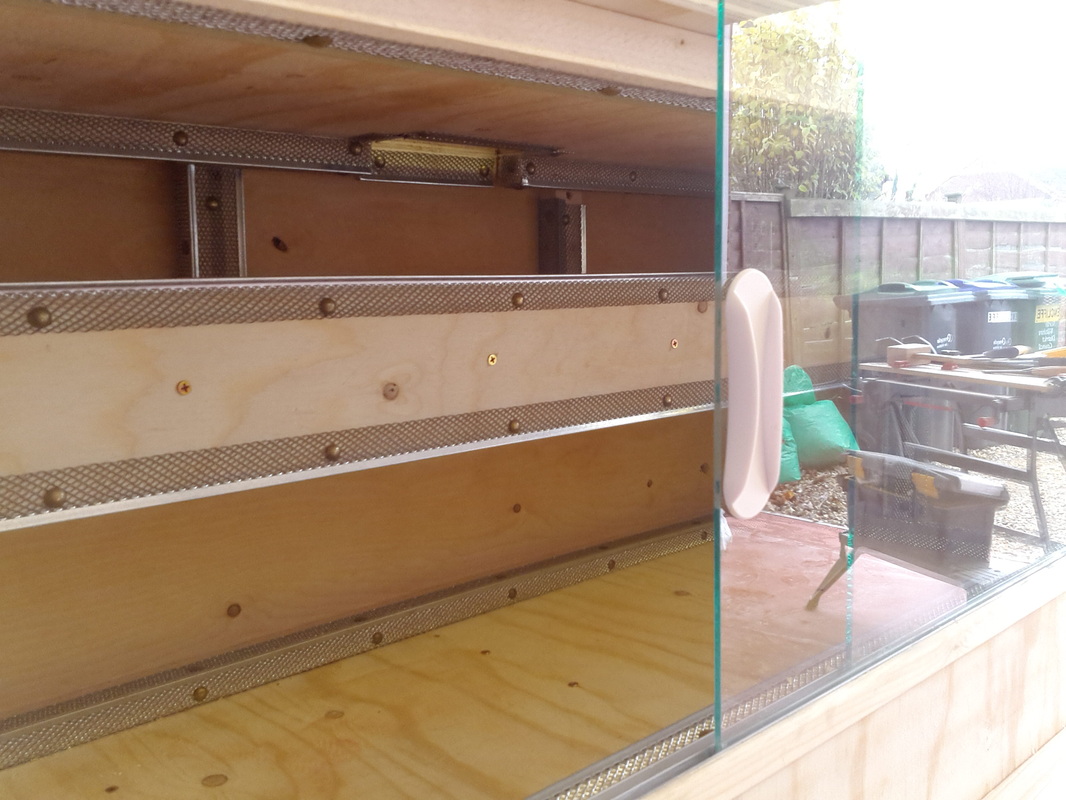
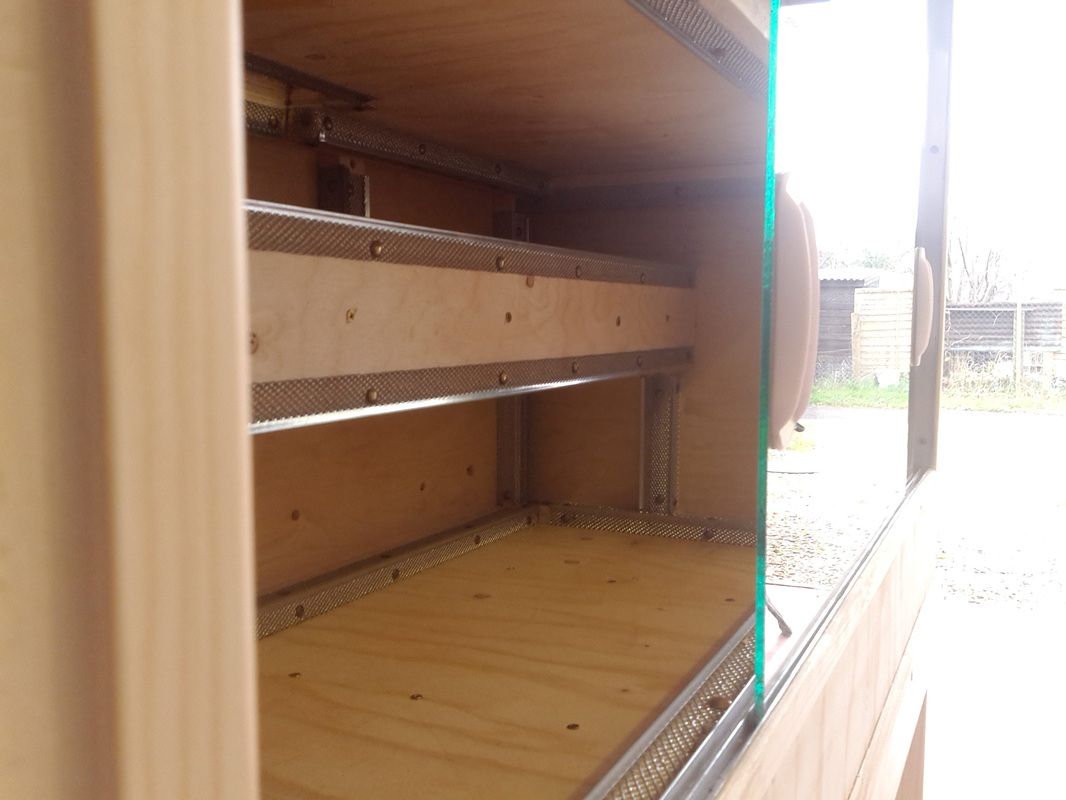
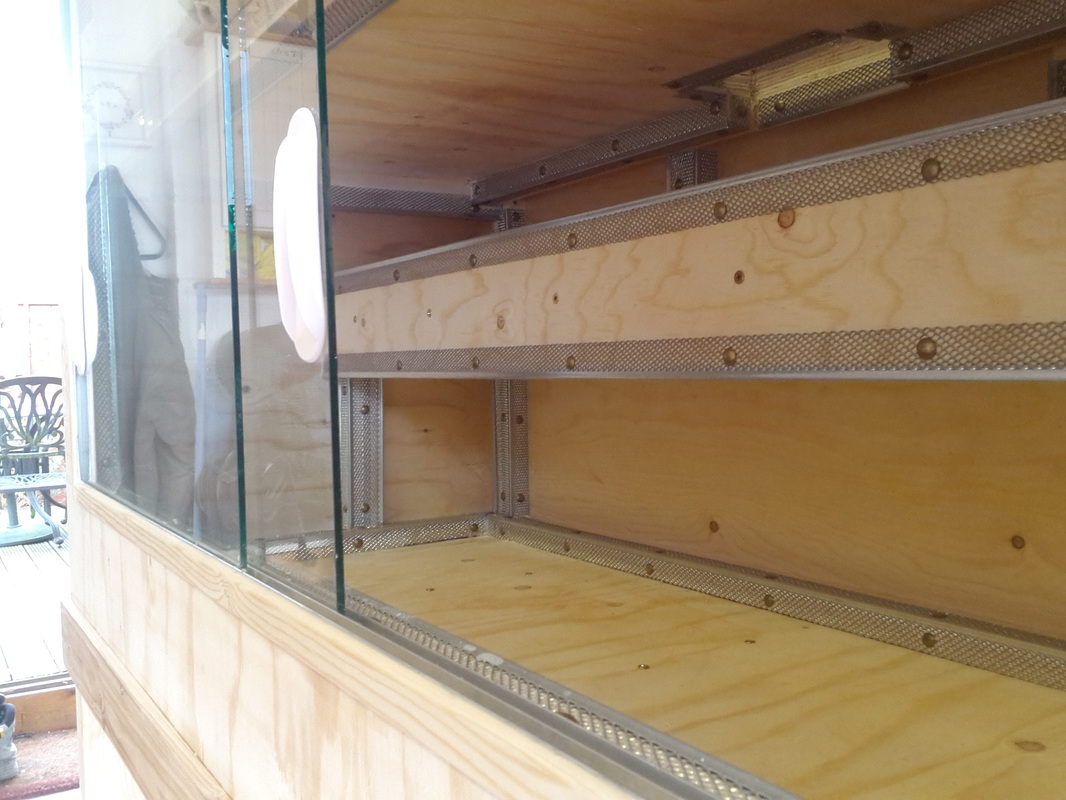
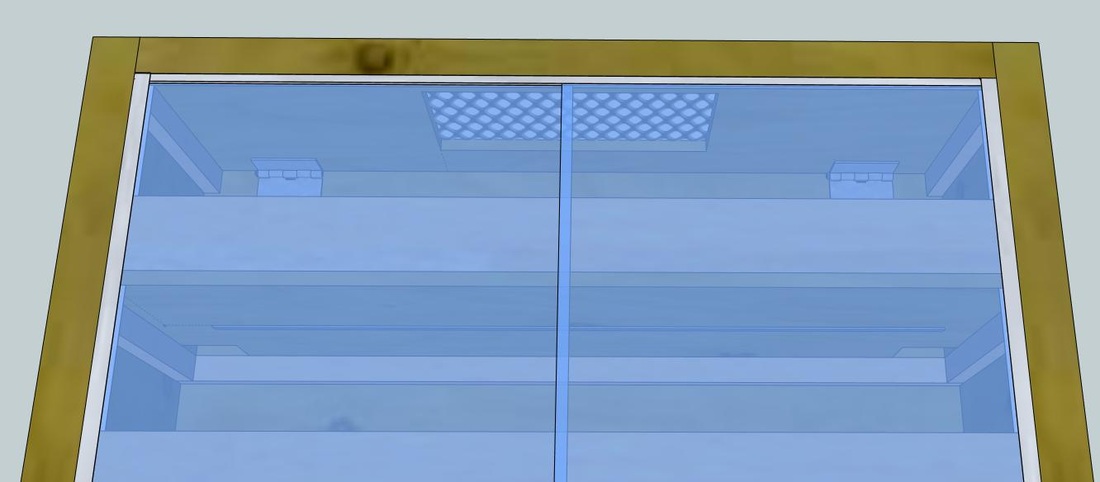
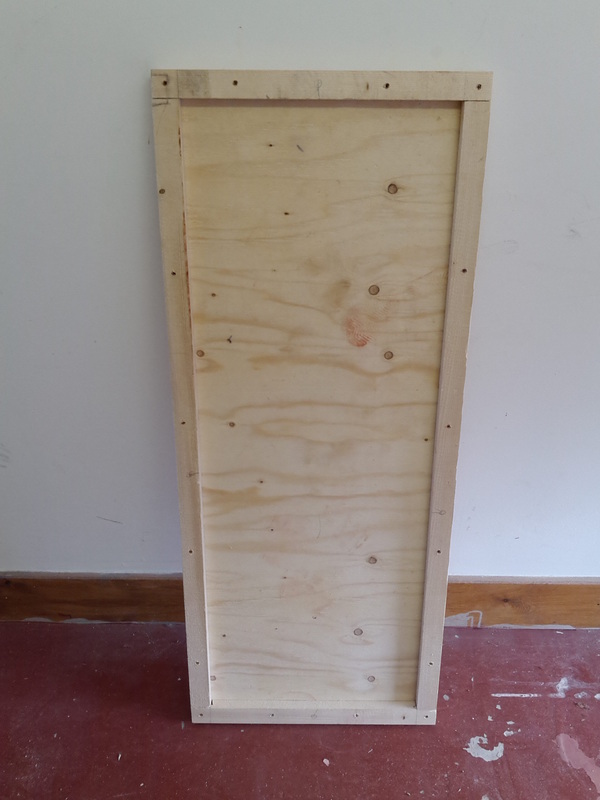
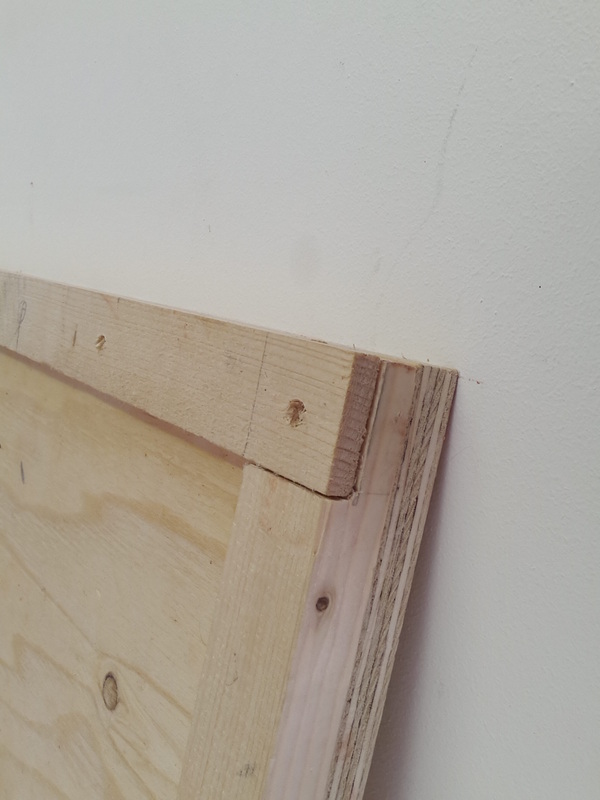
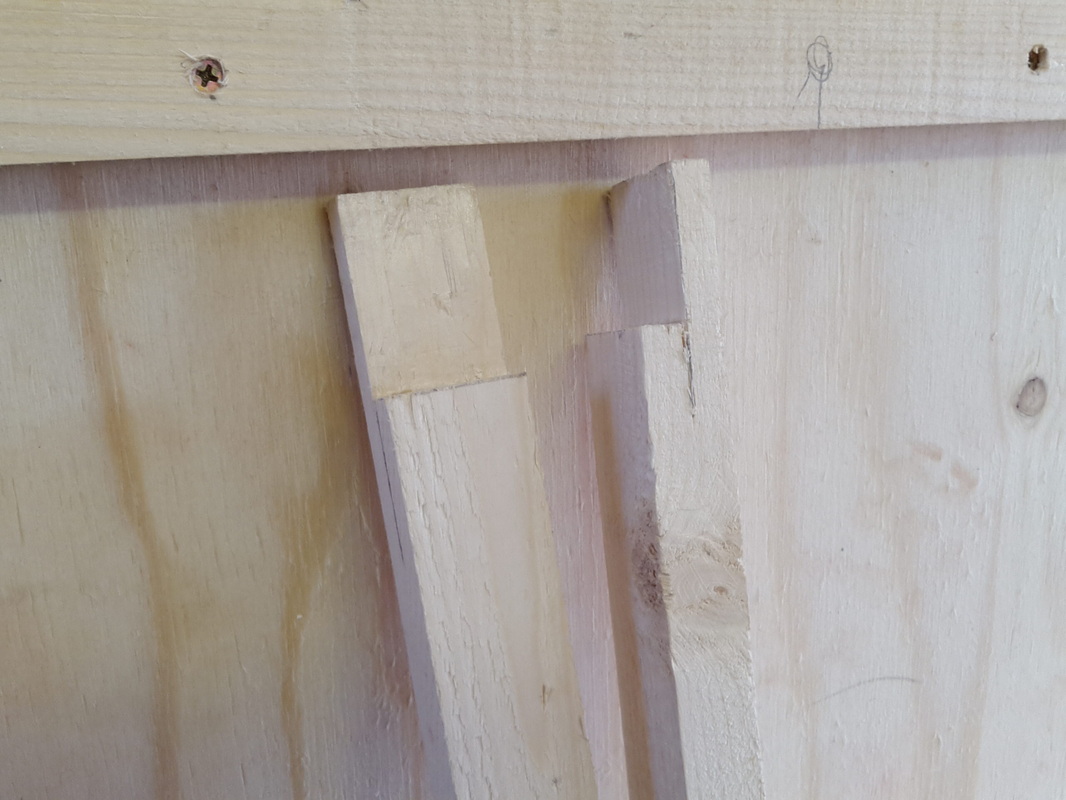
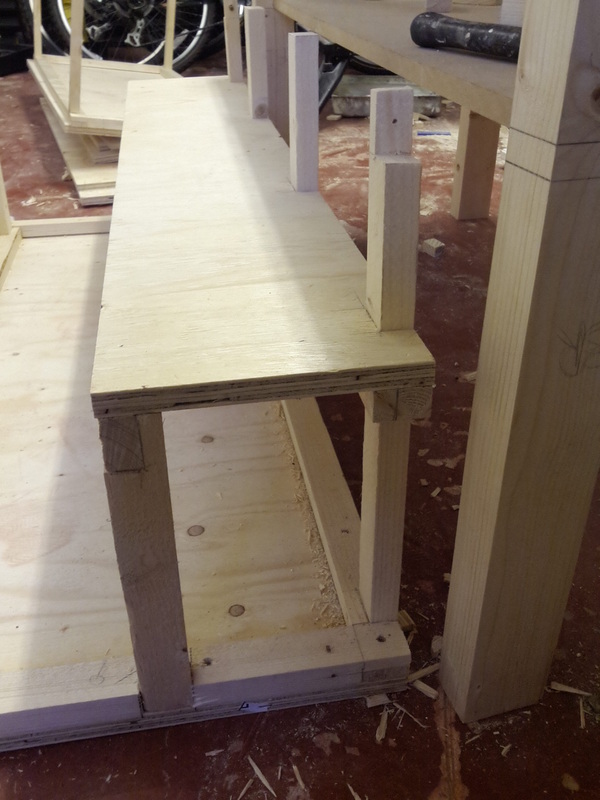
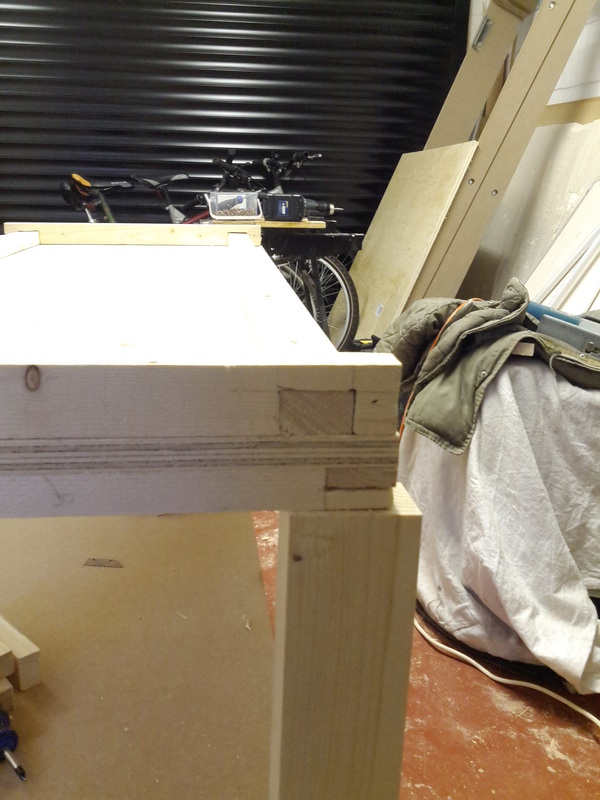
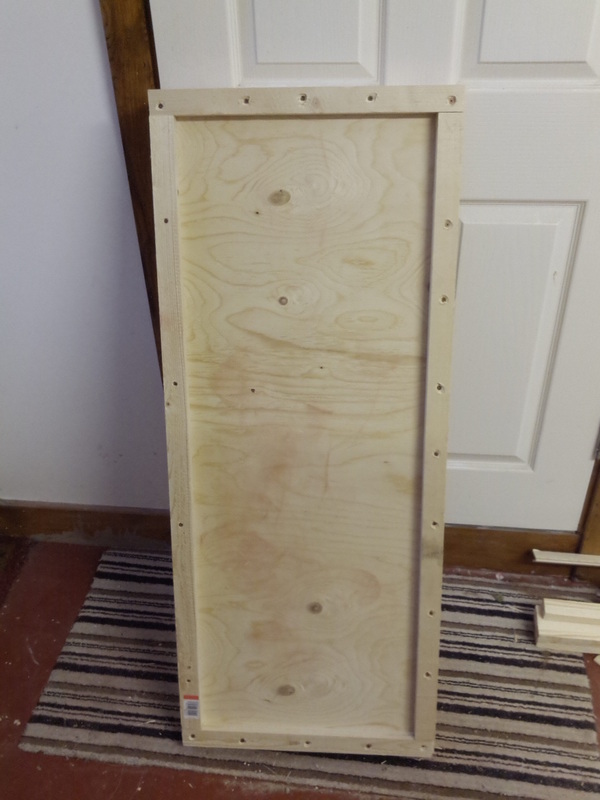
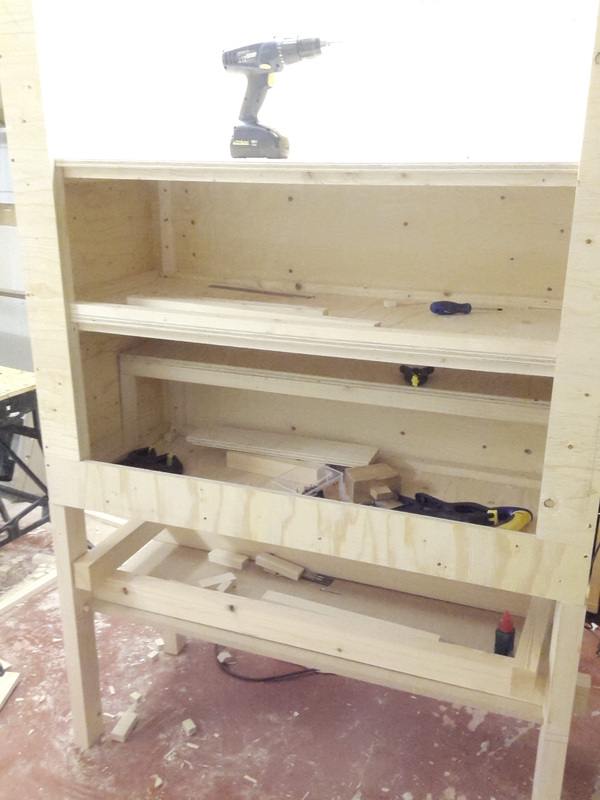
One thing that was really important was using woodworking joints through the build. Normally, I tend to just screw each piece together and hope it will hold. This time I needed something that I could rely on to be more sturdy. The joints stop the enclosure from swaying at the top, they stop the levels from warping under the weight of the bedding and give the structural support at the bottom to hold everything up. It worked great! I tried to joint the frame together wherever was possible (a few of the joints, as you can see in the pictures, are a little jaunty and rough but not bad for hand tools in the time I had).
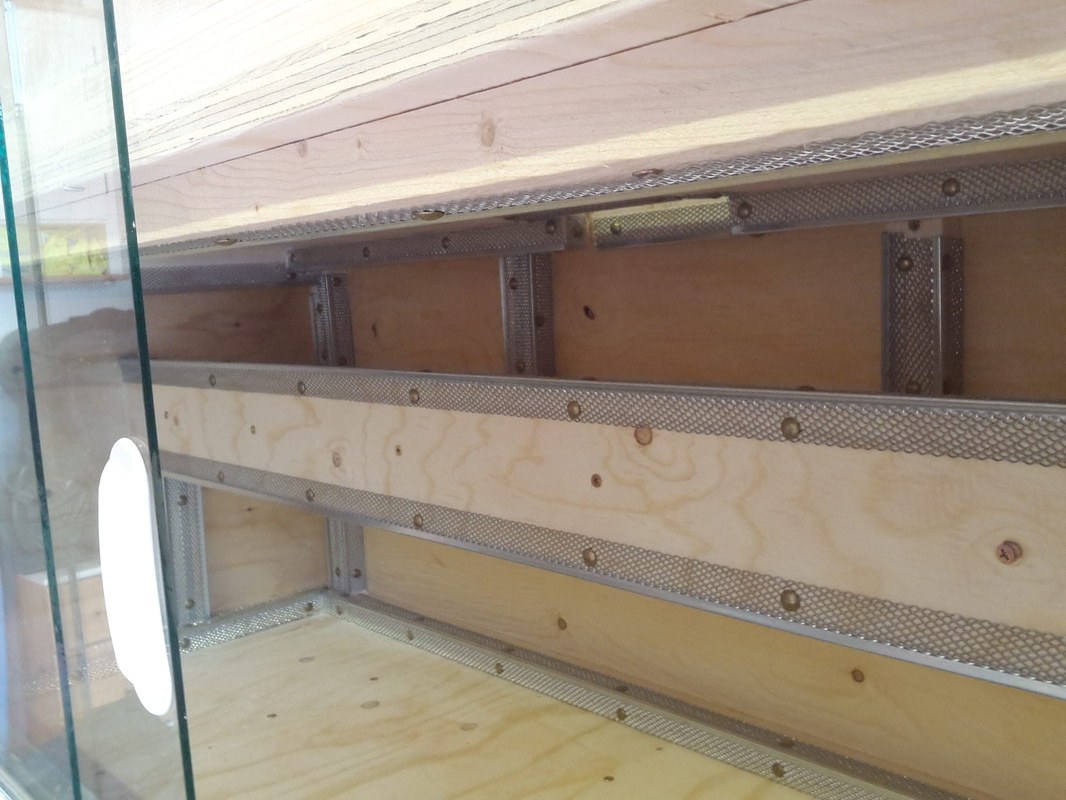
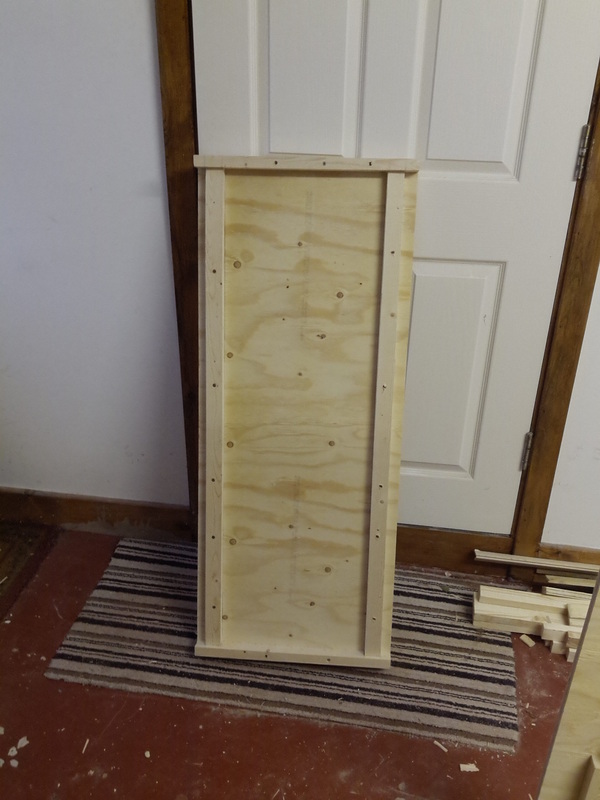
Each level had a frame supporting the bottom...
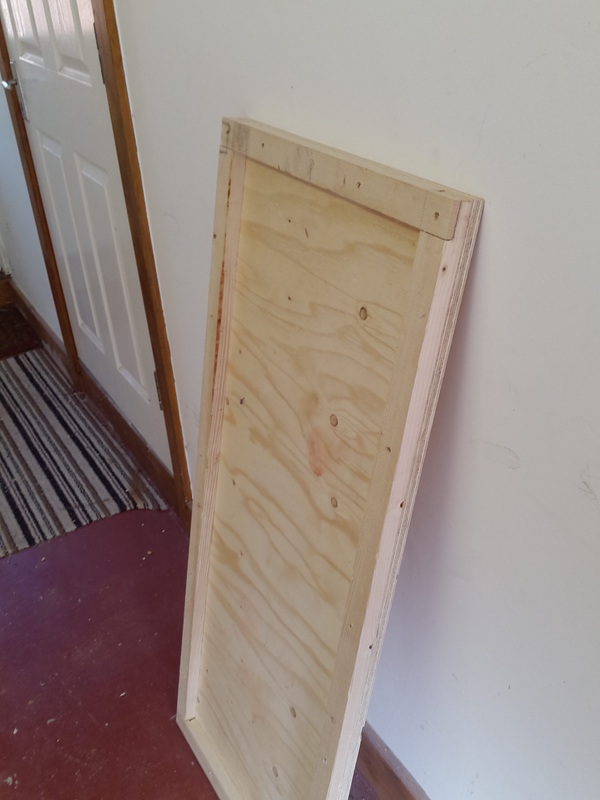
and a border to unify the top.
Mini victories:
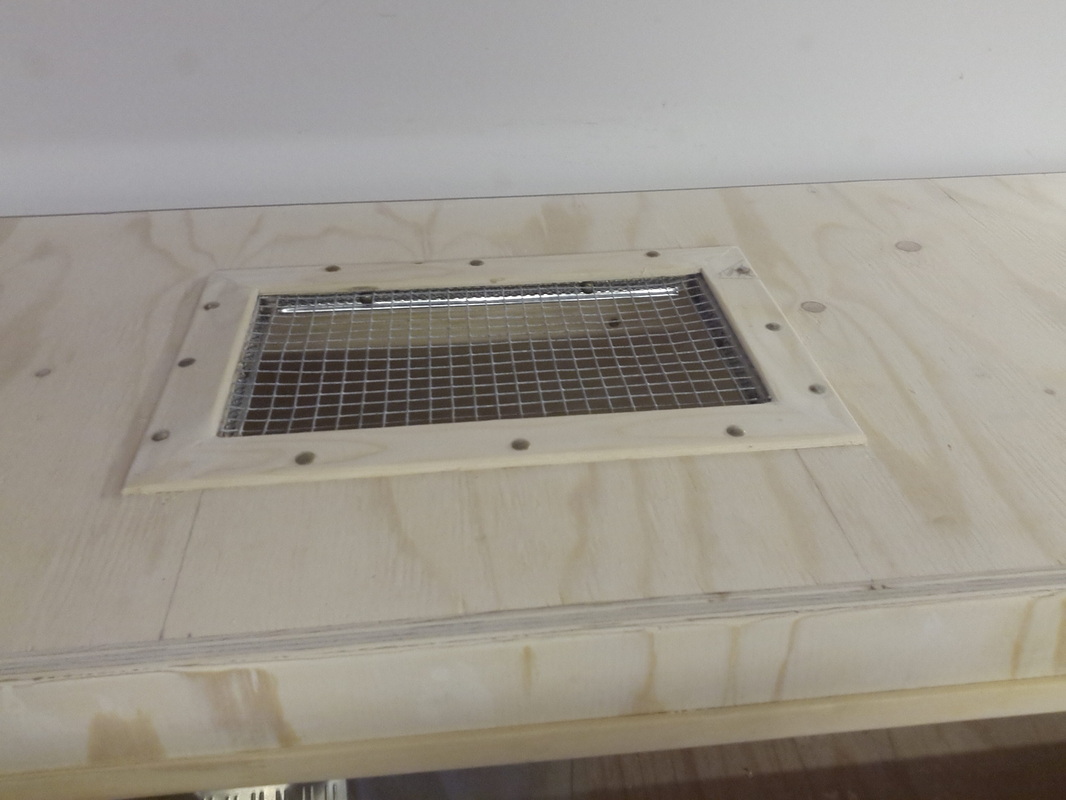
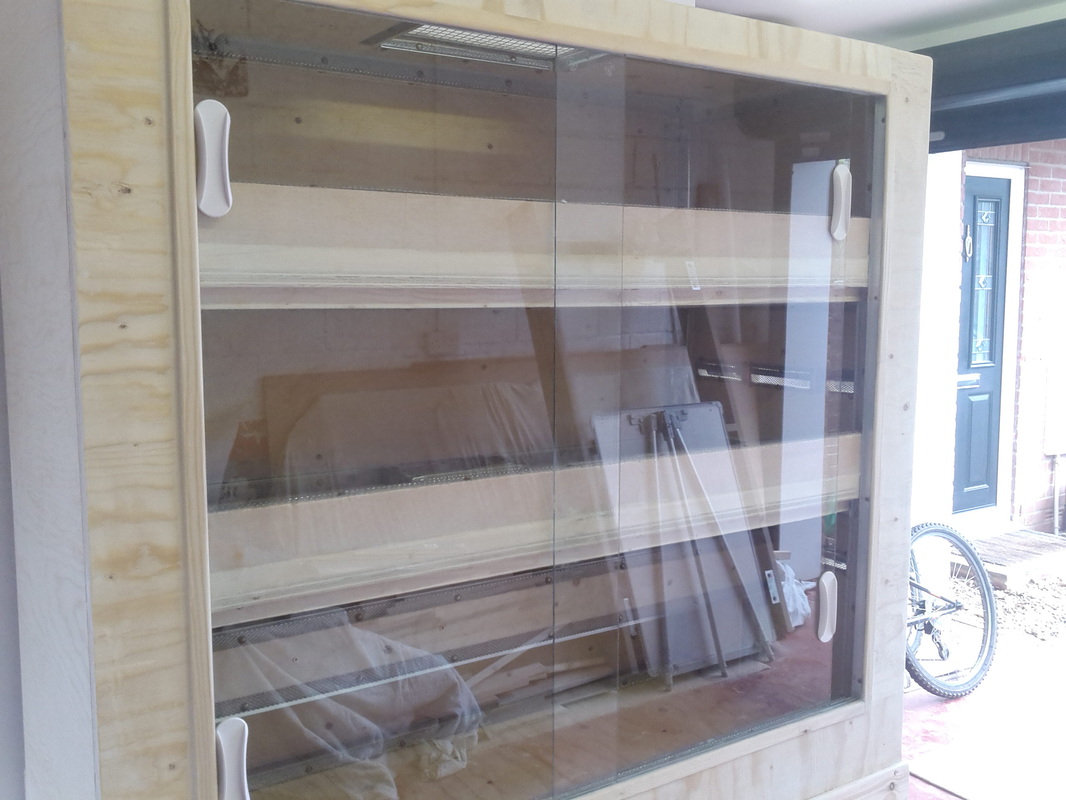
Finding the upholstery pins to secure the mesh. These were a fantastic boon and so cheap too.
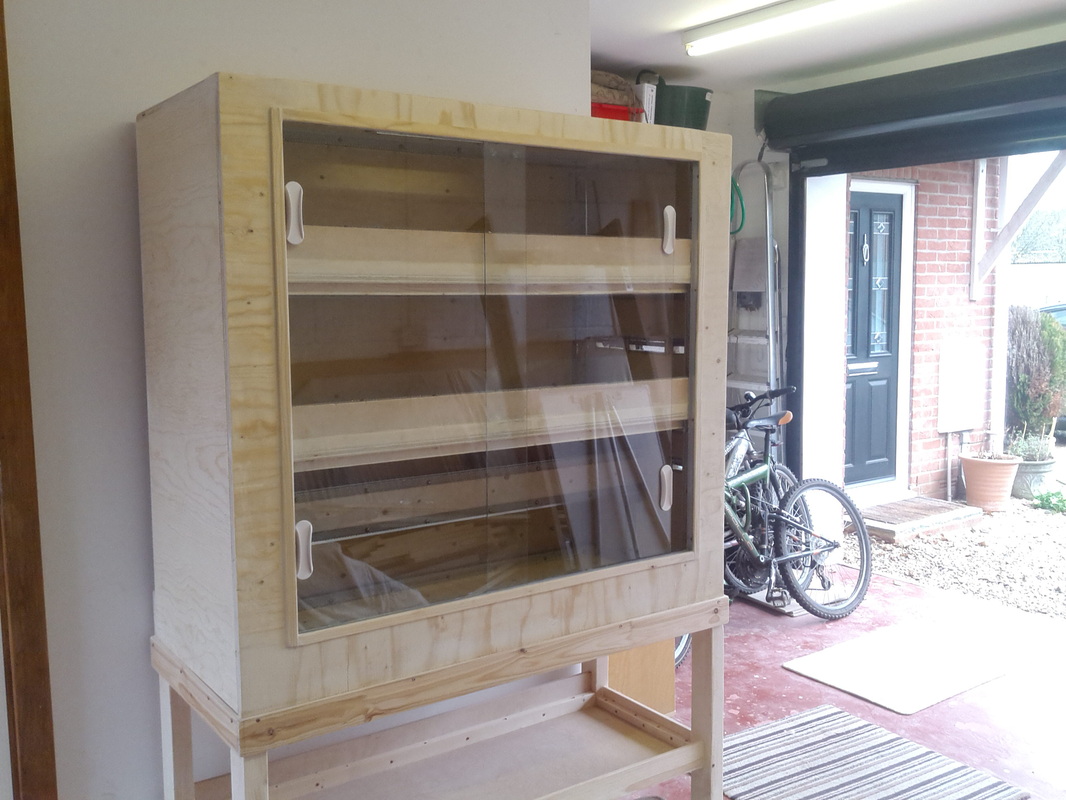
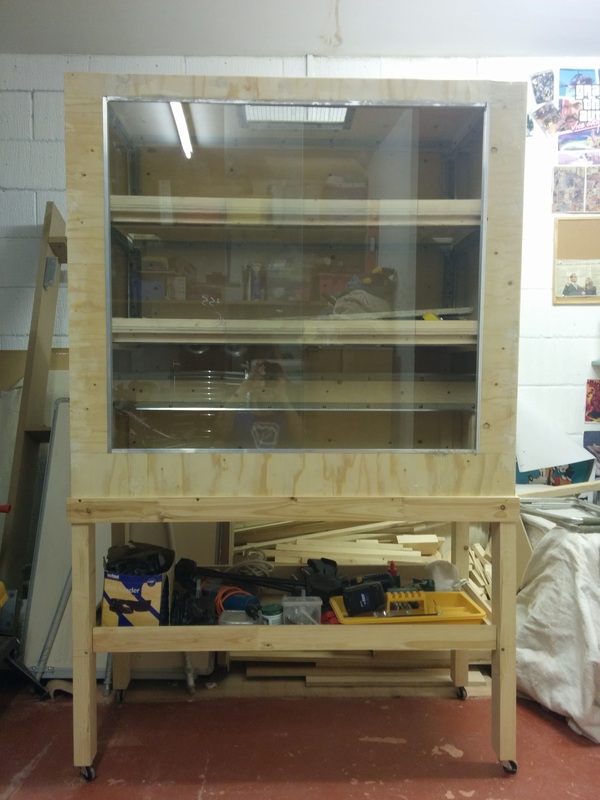
The glass fit perfectly, no problems with being too stiff or to small there.
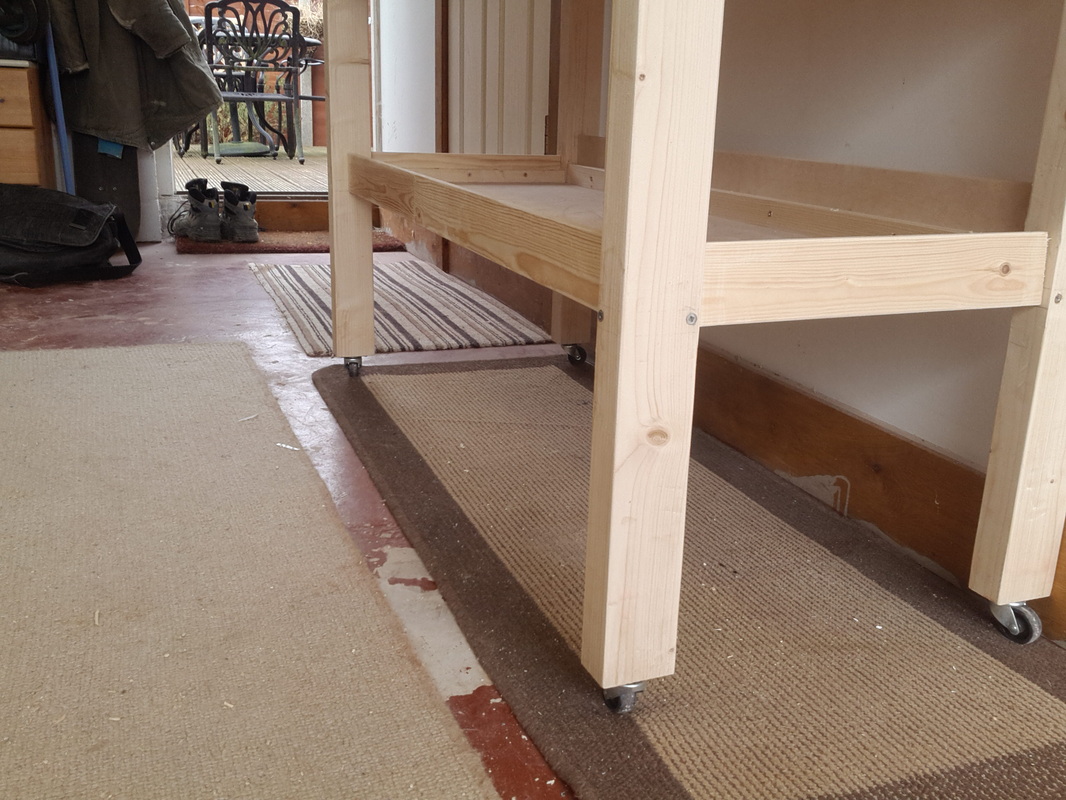
I was very lucky in choosing my timber legs. It turned out that the castors would fit pretty much perfectly. If the timber was any smaller, the castors would not have fit.
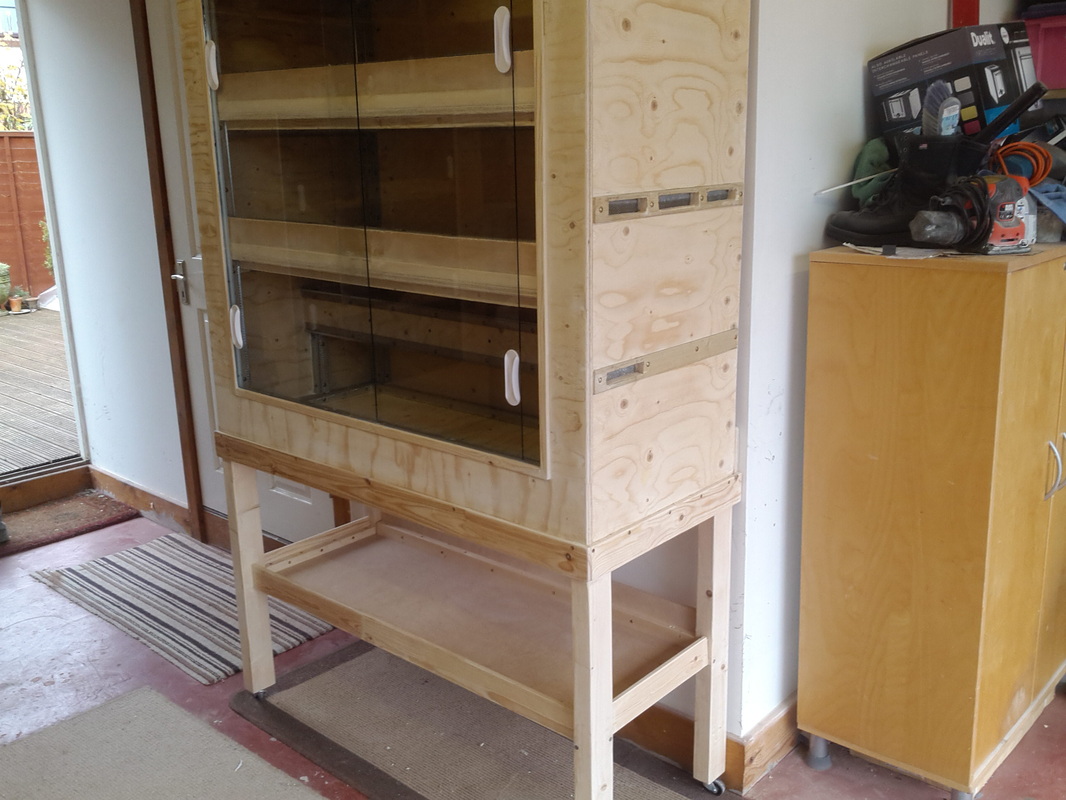
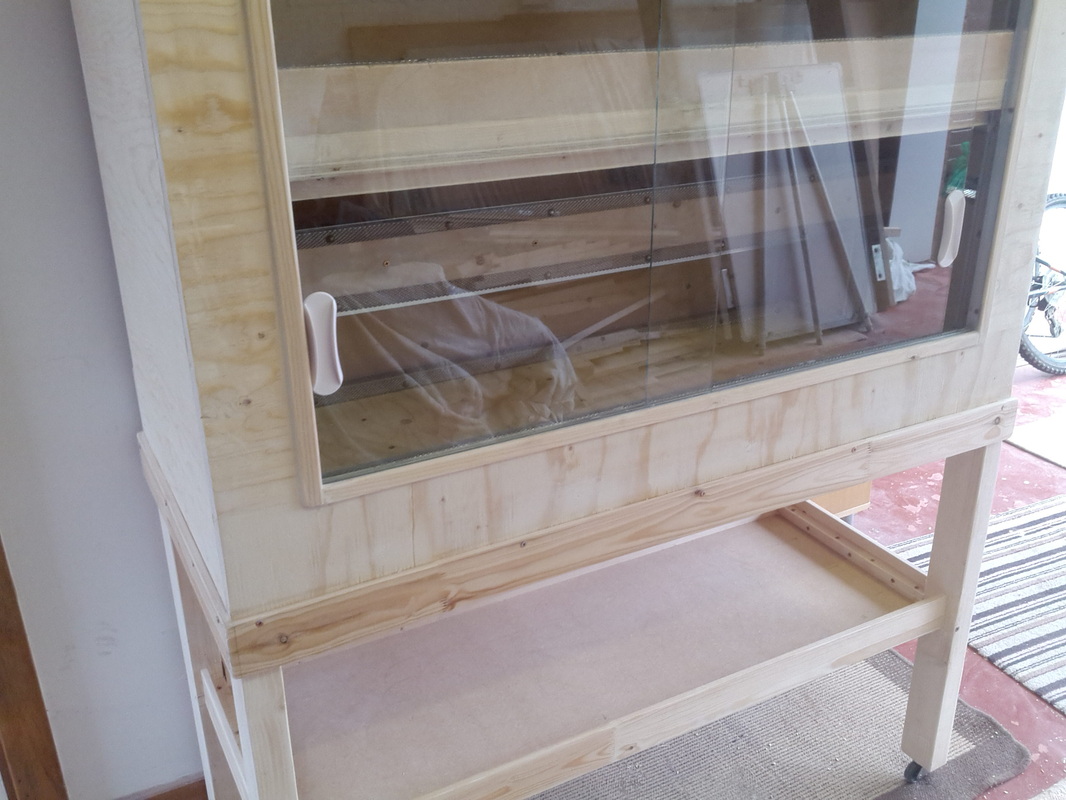
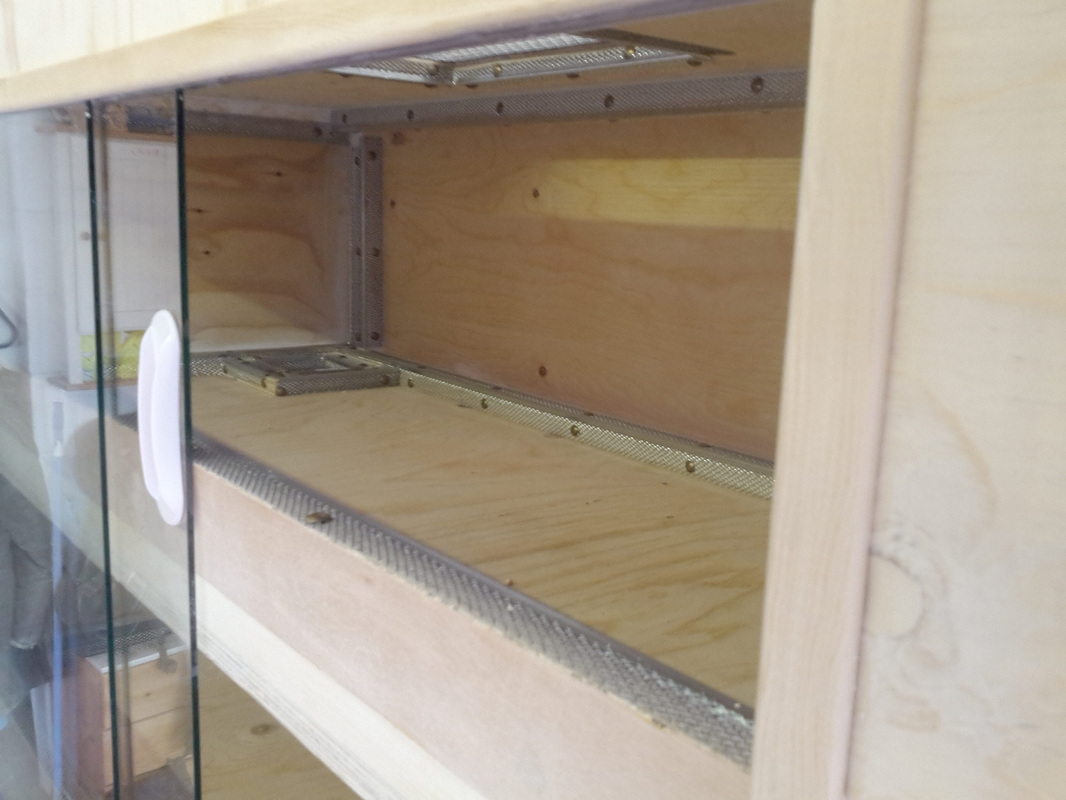
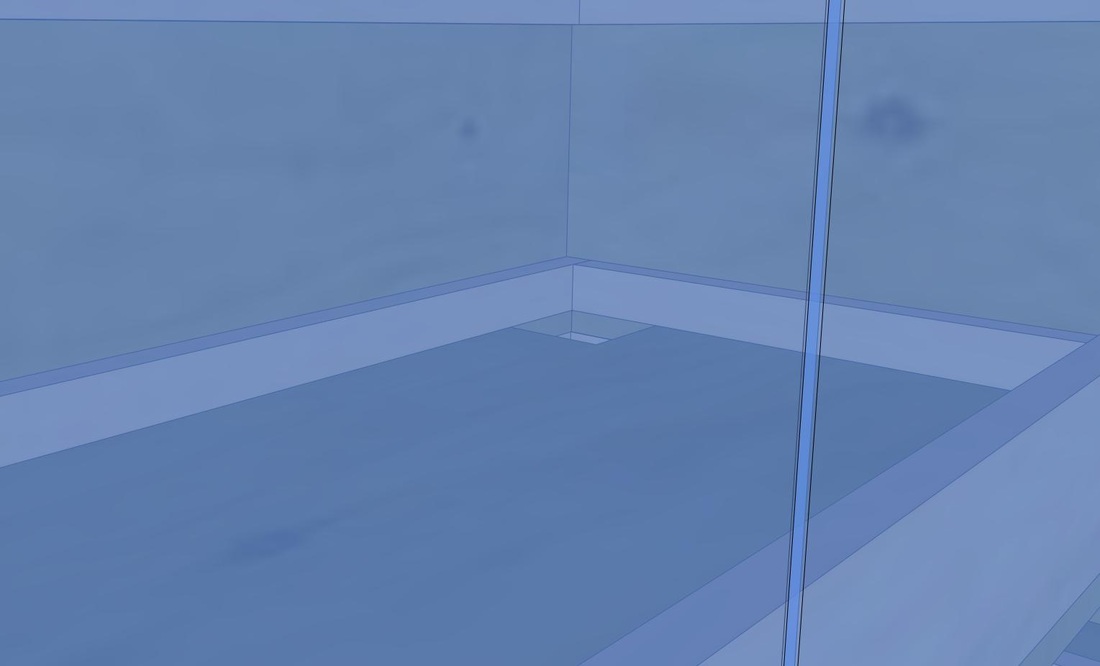
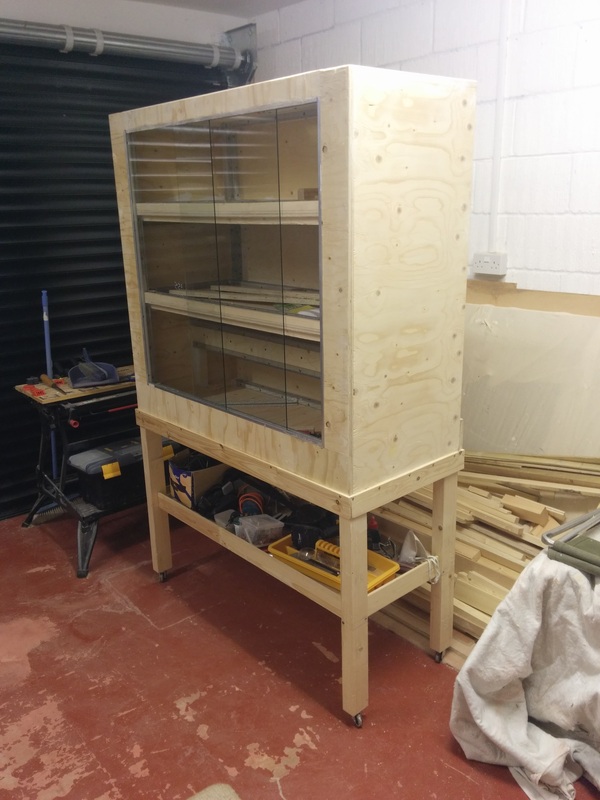
I was really pleased with the wooden trim for the surround of the glass (hiding the ugly metal runners). I actually acquired them from a building site I had been working on at the time of this project. (I wish now that I had mitred the edges though! doh!)
Pros and cons of this enclosure
I actually find it very difficult to come up with any features that take away from the final design. Most of the issues have been listed above. I am very happy with how the enclosure turned out.
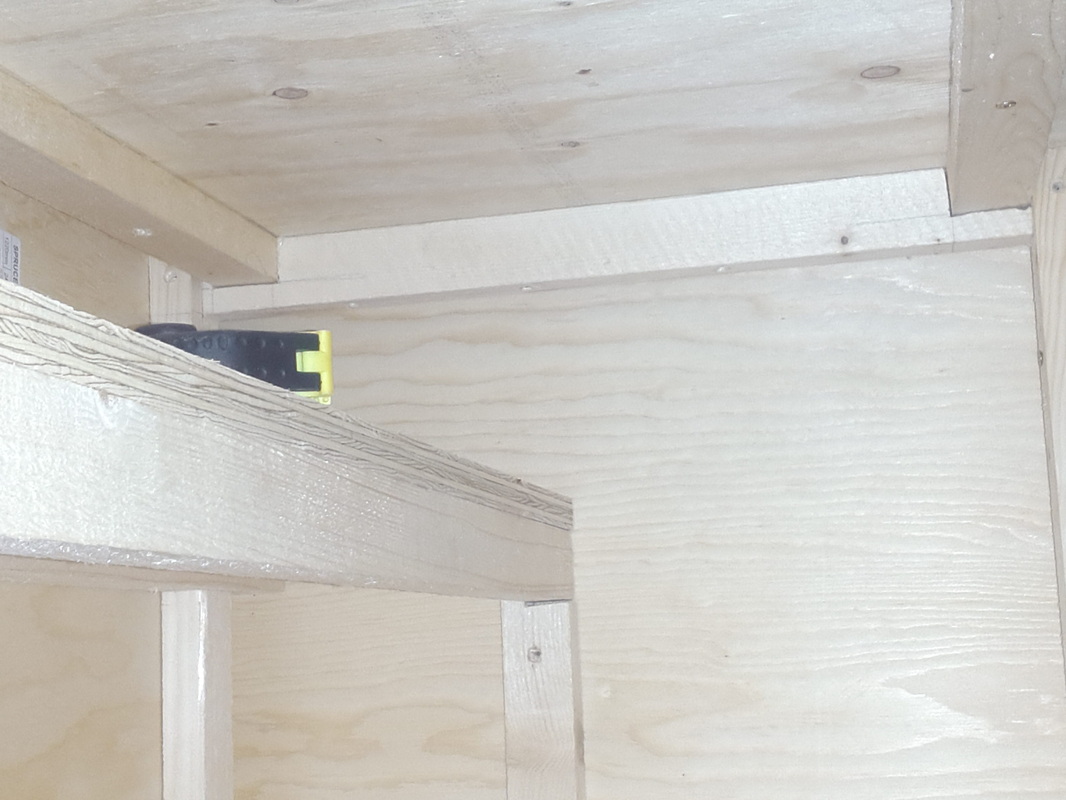
I would definitely say that I would have chosen a different way to fit the glass. In the current design the top panel that receives the top runner is screwed in diagonally to the side panels. Over the top of this screw hole the runner is glued on. This was necessary to make sure that the top and bottom were flush with each other. Unfortunately this does mean that with this particular design it is not possible to remove the glass. Being able to remove the glass from your enclosure is helpful for transporting the enclosure (say you move house) or simply wish for greater access to clean it out. If I was to build the enclosure again I would find a way to make sure the glass is removable.
As for the pros I can think of a fair few!
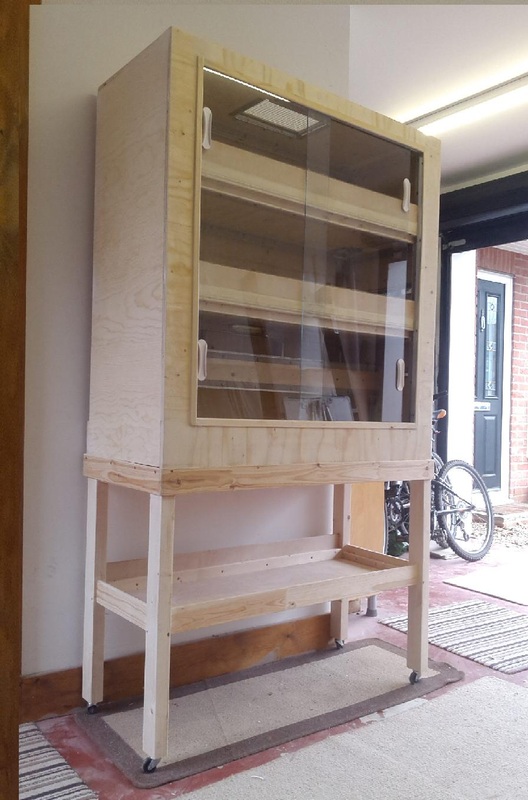
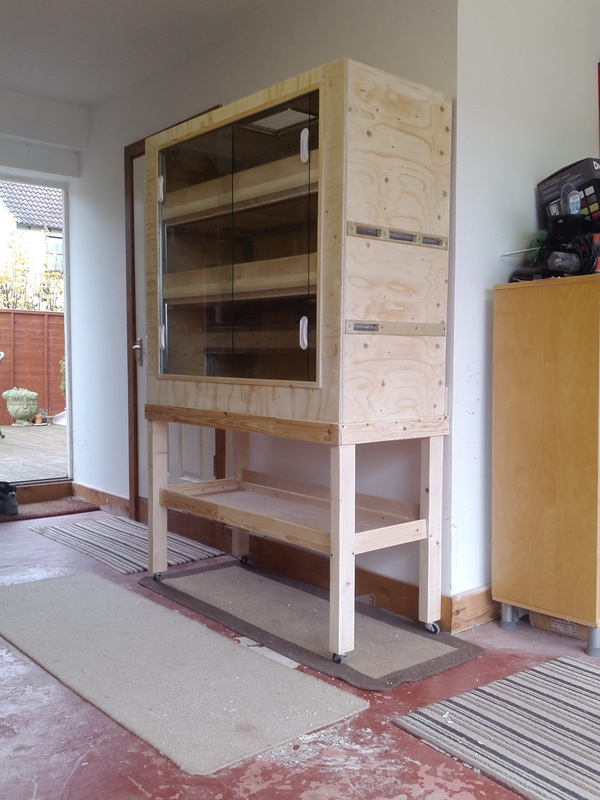
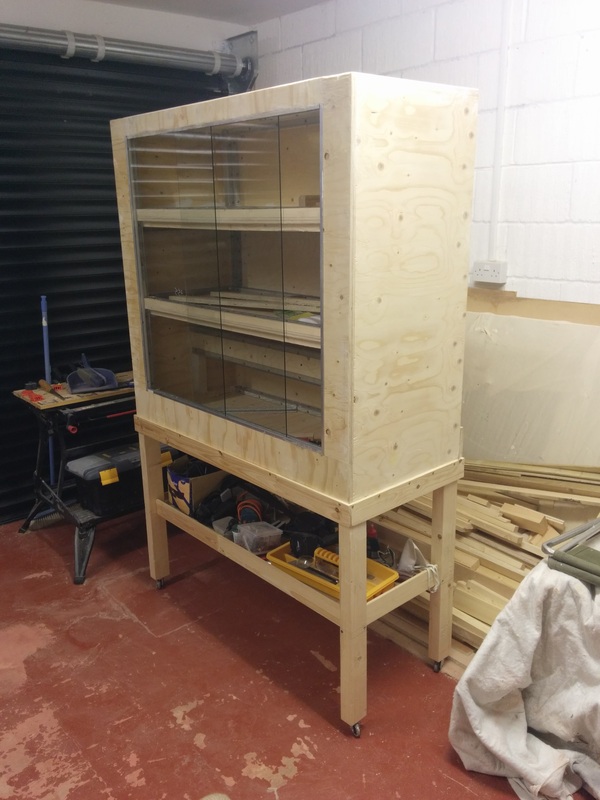
My favourite feature on this enclosure is the trolley system. I love how easy the enclosure was to move once constructed and I love having that shelf beneath to use for degu product storage.
Another advantage of the trolley, is the fact that it suspends the degus up from the ground keeping them away from children or animals that may tap the glass.
With all the joints in place glued and screwed, the hole structure is very secure.
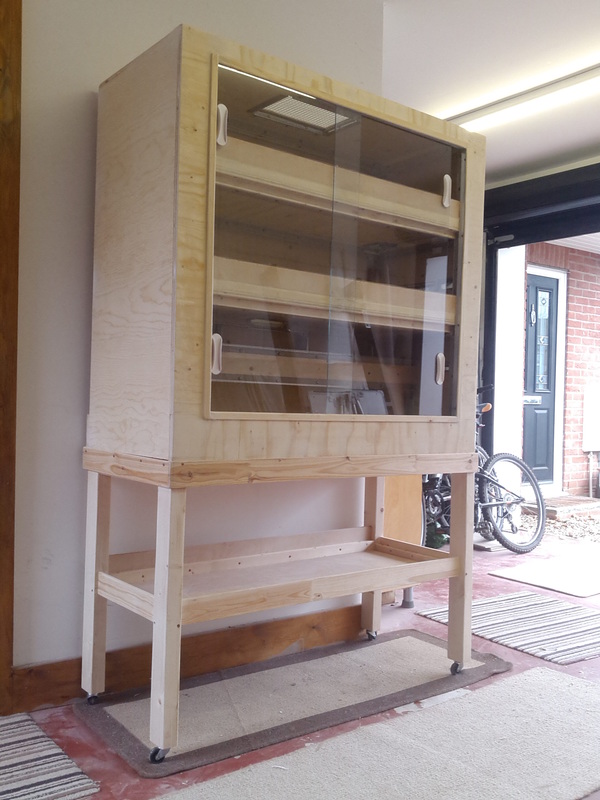
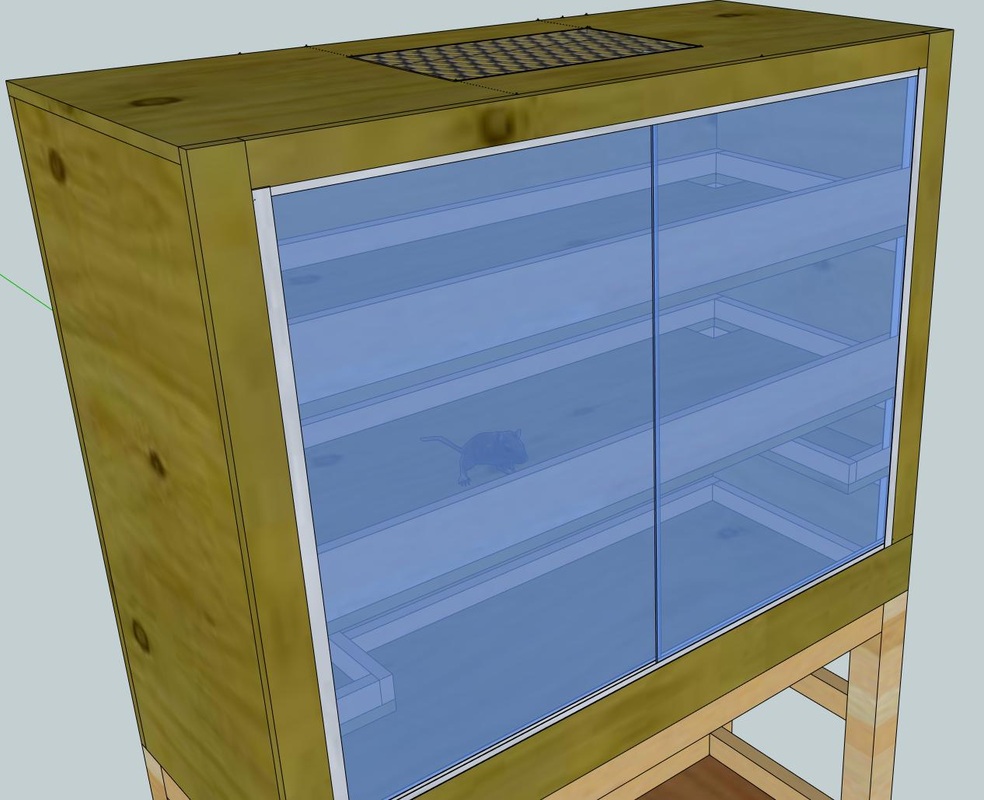
The enclosure looks great! The glass gives it a very nice glossy finish. The plywood sheets also look very nice as they are but have also been sanded ready to receive paint.
In conclusion...
Happy! So happy! As I hope are the degus now living inside. The build took a slight while longer than I would have liked, but I think it was worth the wait. The enclosure has come out very close to how I had originally planned it. It is such a joy when you start putting an idea down on paper and slowly see it come to life. I am really looking forward to future enclosures and the opportunity to try different building methods, adding different features etc..
My primary goal now is to complete the garage conversion into more of a workshop/workspace, this will allow me to start doing more work on enclosures, runs, accessories and the like.
Once completed we will see what projects rear themselves. I do intend to build a very large enclosure for my boys and I will be building some smaller vivariums to practice with some of the techniques and materials I will be needing. I will be sure to document this.
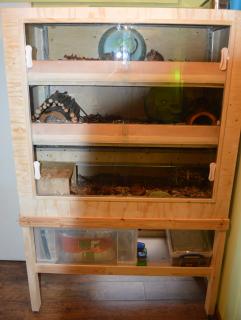
The enclosure has turned out very similar to my original design.
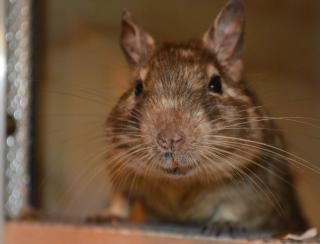
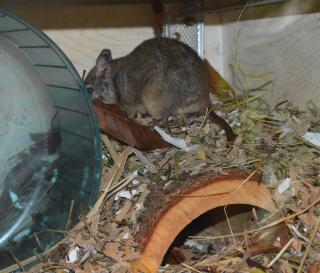
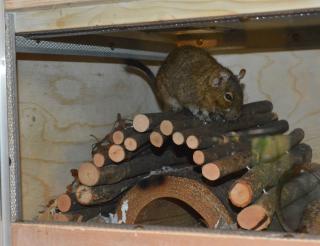
The new owner has sent me a couple of pictures of the enclosure and the three degus inside. Looks like they are enjoying their new home!
As always you can click any of the pictures in this post to enlarge them!
Many thanks for reading part one and two of this review guys! Hope you had a great Christmas and your degus have been well spoiled!
Below is a quick word on tools and a gallery that shows all the pictures that are relevant to this enclosure.
A quick word on Tools
I always try to ensure on each project that I complete, I use as few power tools as I possibly can. If you are familiar with my previous two documented builds on this website you will likely know I used little more than a hand saw and a cordless drill to build the project.
I think this is very important. So many people think that they are incapable of building their own enclosure because of a lack of DIY ability. In reality, you could use zero power tools to construct the enclosure. The only thing that limits the potential of a build, is the mind. If you are willing to spend £40, you will be able to purchase all the tools you could need to embark on a DIY degu house (of course additional tools and knowledge are ever welcome).
Tip: If you know someone with some DIY expertise, ask them to come round; show them what you are looking for. If they can help you get started, you will soon realise you need not worry about DIY ability. A good plan and a guiding hand will be enough to give your degus everything they need. Remember, the enclosure does not need to win a beauty award, it just needs to be functional!
Do remember that without a table saw or skill saw, you will need to have your panels precut at the hardware store you buy them from.
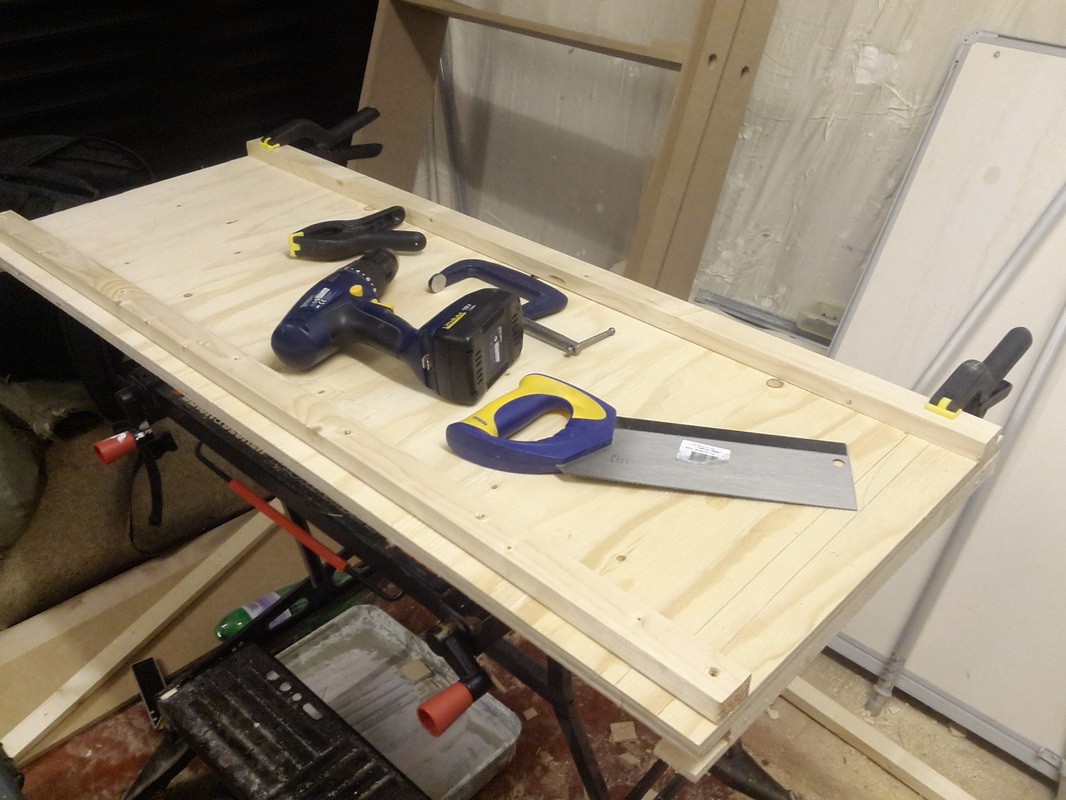
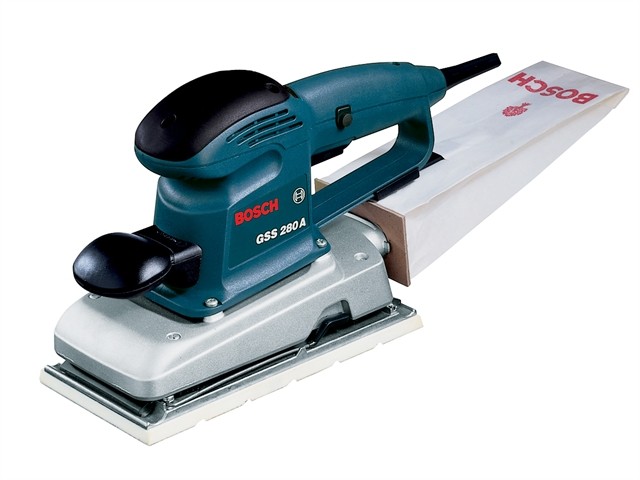
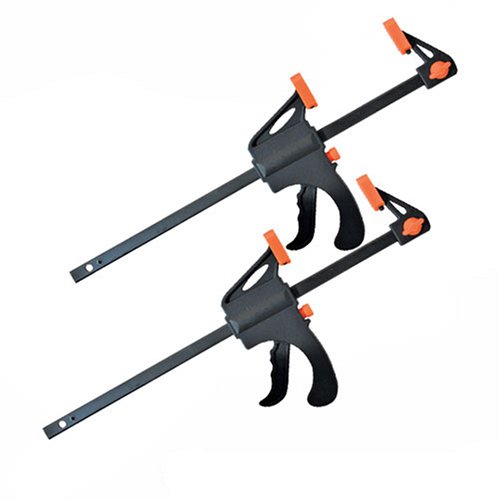
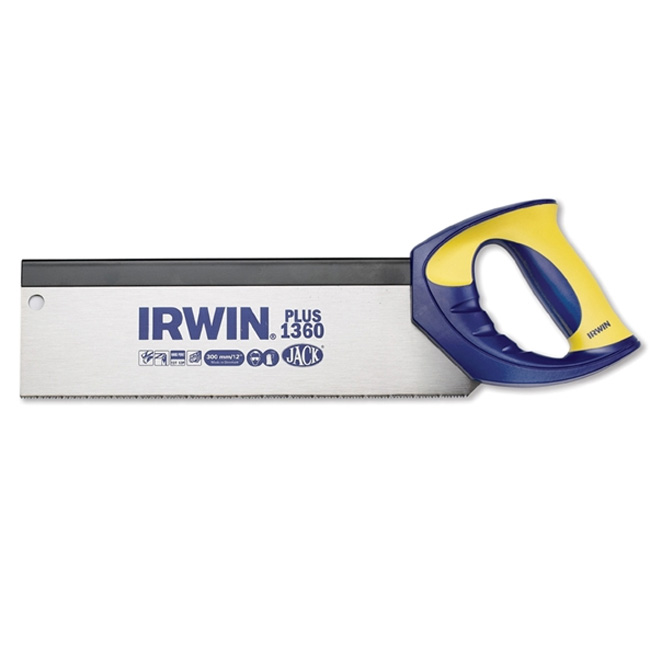
For this enclosure I used the following tools: Cordless Drill, hand screwdriver, hammer, tenon saw, clamps, electric sheet sander (for speed, normal sand paper works too), ruler, pencil, snips (to cut the mesh), chisel. As you can see this is a very minimal tool list, you do not even need the sheet sander or cordless drill, though this does speed up the task.
Sheet Sander - you could just use sand paper
Phillips head screwdriver
Bar clamps - most clamps will work for building a degu enclosure
Snips - for cutting through mesh and thin metals
Cordless drill - useful for drilling pilot holes, countersinks and screws
Tenon saw - hand saw will also work but as the panels have already been cut to size a smaller tenon saw will give you nice neat straight cuts
I have however decided that, as I have now completed (and therefore proved that you need minimal tools) 3 projects without advanced power tools, I will be moving onto these next. In my next project I hope to show how quickly and effectively you can use advanced power tools to build an enclosure. I am especially excited to make use of my brand new table saw.
Providing detailed guides on how to construct and build degu enclosure, vivariums and cages. This blog has a focus on stimulating and creating more natural habitats for degus...