A slightly longer than usual post! This is part one of two!
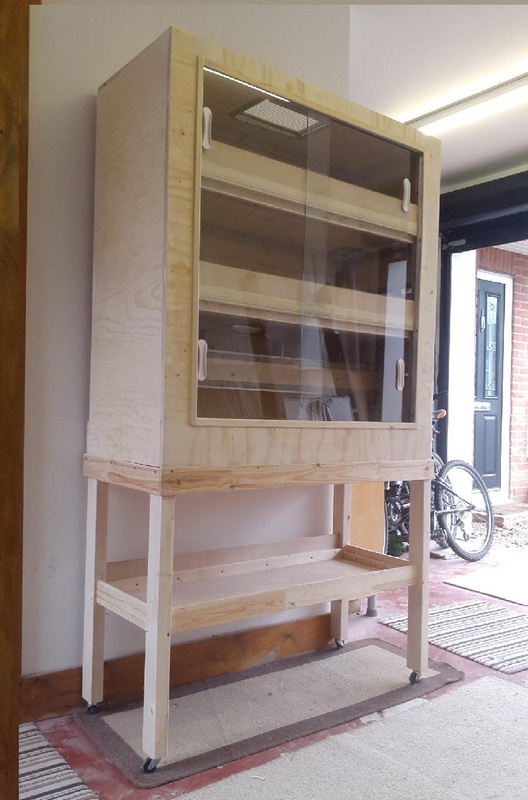
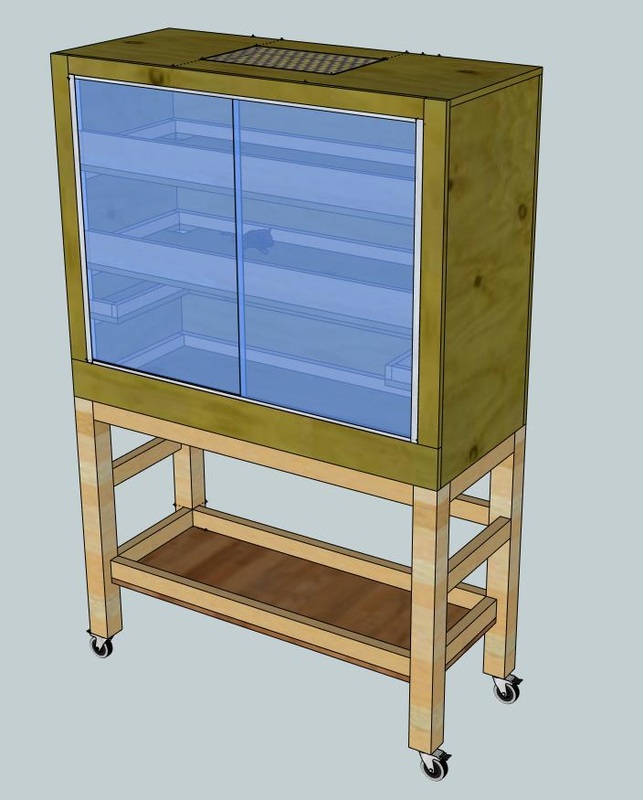
I recently built this enclosure for a client and suffice to say, I am very happy with it! This is my first client based enclosure - and so had to be built to a higher standard than what I would normally strive to achieve for myself or close friends.
After the break I will go into: specifications, pros, cons, troubles and successes...
How the build came to be:
I happened to be browsing the UK reptile forums (RFUK as it is known) looking for inspiration for my own personal enclosure. Although not being reptiles, there are many pleasing designs and much inspiration to be had on the reptile forums when it comes to degus and trying to recreate a natural environment.
I happened across a thread where a gentlemen was looking to find an appropriate enclosure for his newly re-homed degus. I discussed there the recent successes of the degu community in building DIY enclosures. After some chatting I offered to build the enclosure for him, due to his inexperience of degus and lack of knowledge to building a mammal house.
We chatted over email and finalized the budget and specifications over the phone.
Reptile Forum UK or RFUK (for short) is undoubtedly the largest forum for those interested in keeping: snakes, lizards, frogs and creepy crawlies. However, the forum is also host to a large number of general pet owners as well as exotic mammal keepers. I can highly recommend the site if you are looking for inspiration and/or DIY knowledge when it comes to constructing enclosures; much of the knowledge available at RFUK is transferable to us degu keepers!
Specifications and planning
As with any project, the first job was to create a plan. With the requirements compiled the design began to take shape. Here were the requirements:
3 Degus - this meant attaining a minimum of 15,000 cm.sq running area. The final designs allowed for a total CARA of 18,500 cm.sq.
Dimensions of space - the location in the room where the enclosure was to be dictated that the enclosure be no bigger than 210 cm x 120 cm x 50 cm (H x W x D). The final measurements of the enclosure were 195 cm x 120 cm x 55 cm. So unfortunately the build ran over by 5 cm in depth, luckily I checked the final dimensions and all was fine.
3 Dogs - due to these being rescue degus, with a poor background, we did not want to stress or startle them further by allowing the dogs easy viewing. I have also found from my experience that degus seem to be more comfortable when they are above what they judge to be a potential threat.
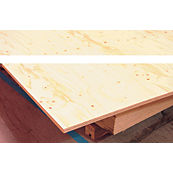
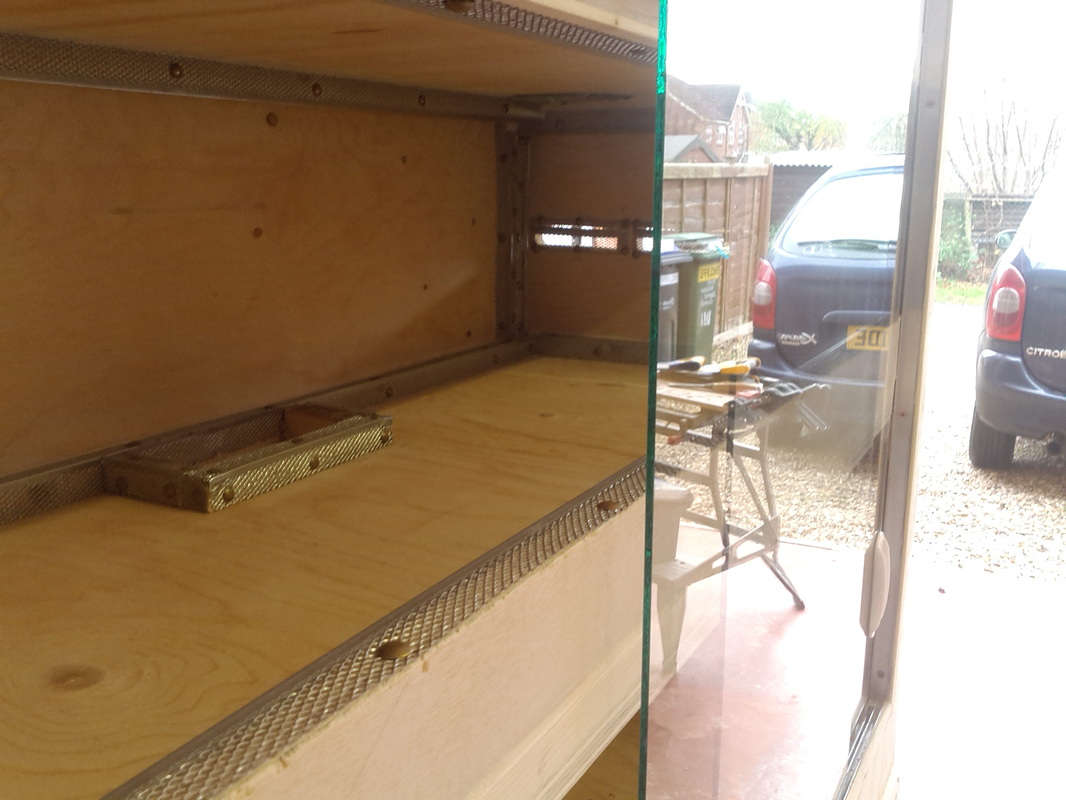
Soft Plywood - There are many different sheet materials from which to construct a mammal house. OSB is the most cost effective, however plywood does look and feel nicer. For this project plywood was the sheet material of choice.
Glass - Glass does trump plexi, there are no two ways about it. Glass provides a much more professional finish that plexi cannot hold a candle to. However the professional finish and increased durability of glass also comes at a much higher cost. Glass was the choice here for a few reasons and I for one am very happy with the final look.
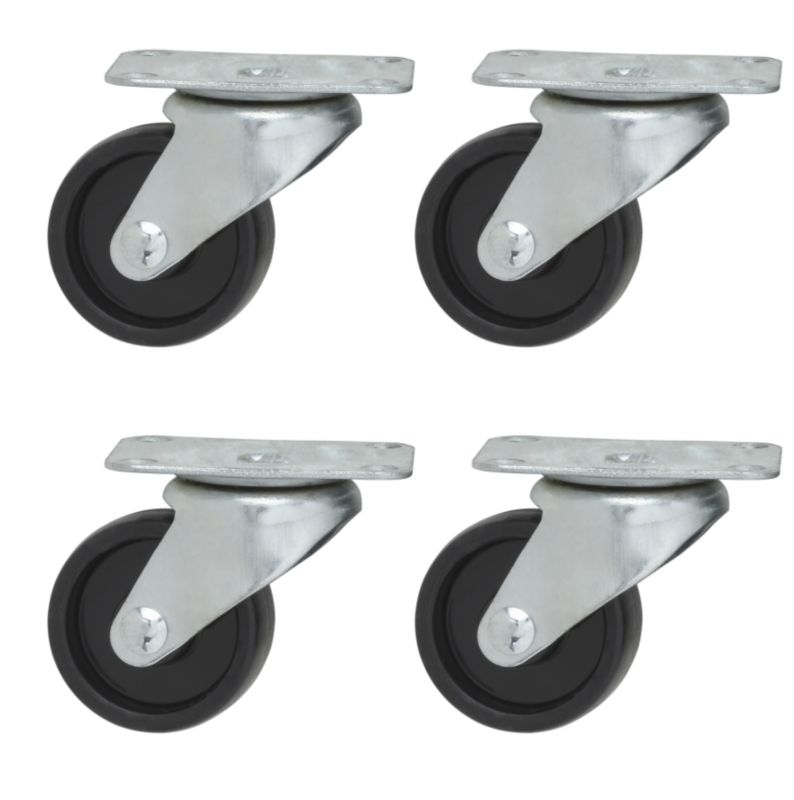
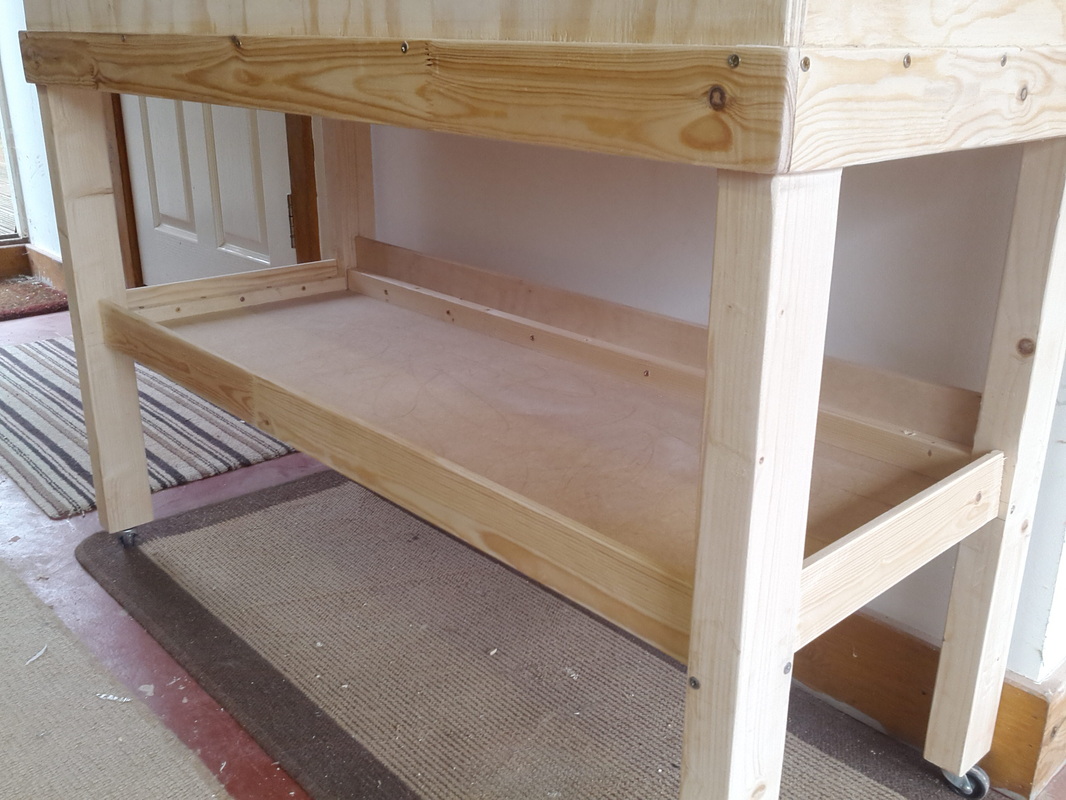
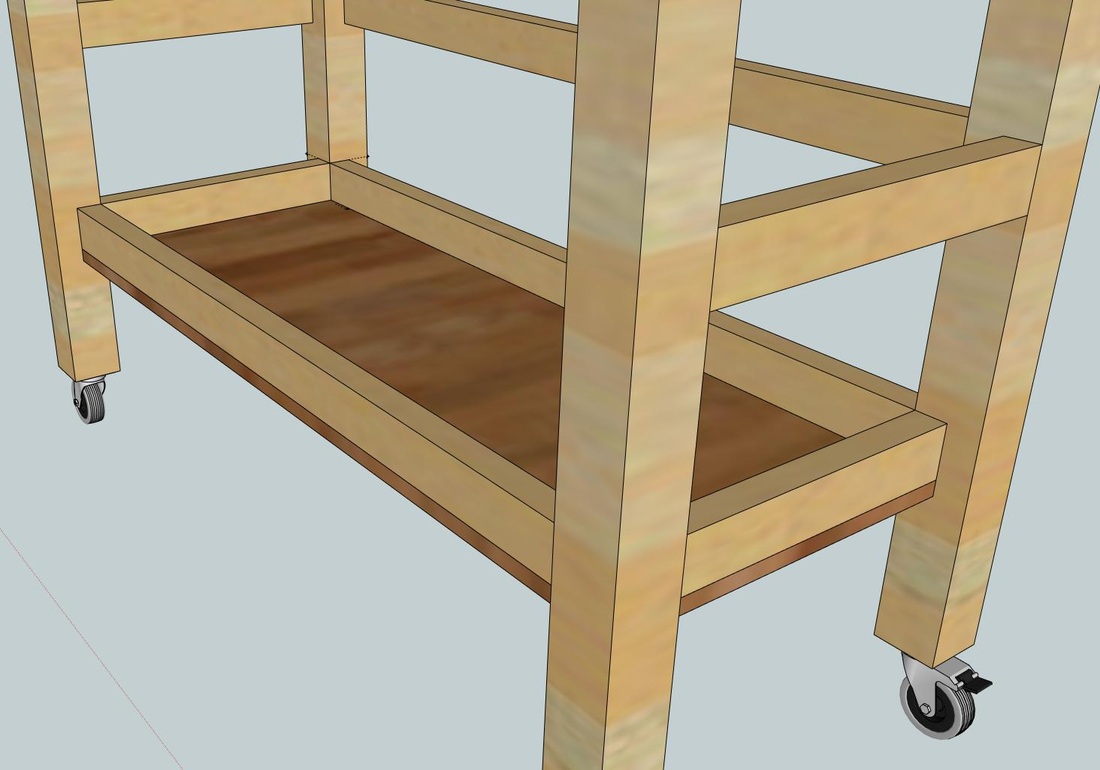
Transportable and moveable - degu enclosures are not known for their portability, quite often being too large, heavy and unwieldy to move (this is where metal cages do seem to have an upper-hand vs DIY). It was important that the enclosure could be rolled around the wooden floor in the house to clean behind and gain access to the window. It also needed to be easy to transport, lifting a large enclosure is 3 man (minimum) job. I think that the trolley system contributed greatly towards making the enclosure more portable; we were able to lift the enclosure from the top of the trolley and thanks to the long legs, put it down again at a moments notice. Of course, the main facet of moveability was the castor wheels.
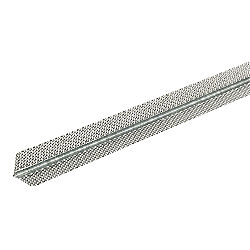
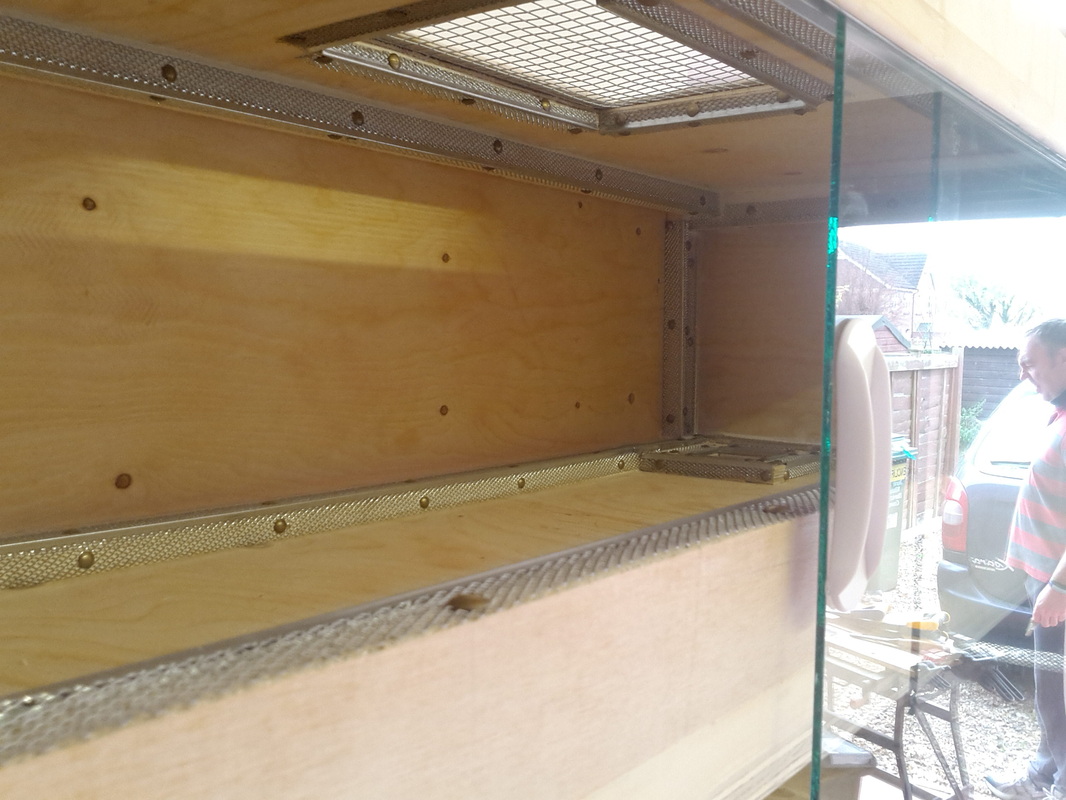
Protection - No brainer! The inside had to be completely edged in mesh.
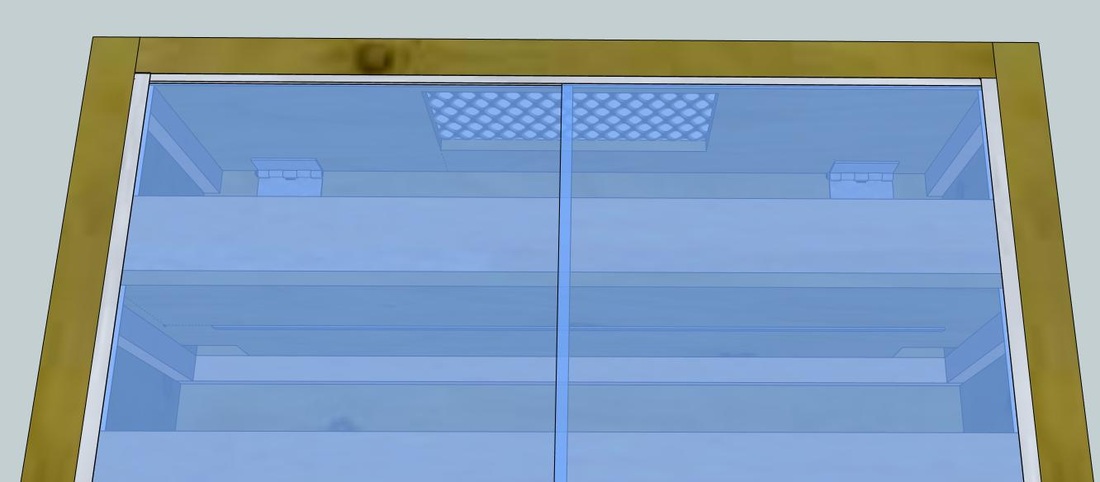
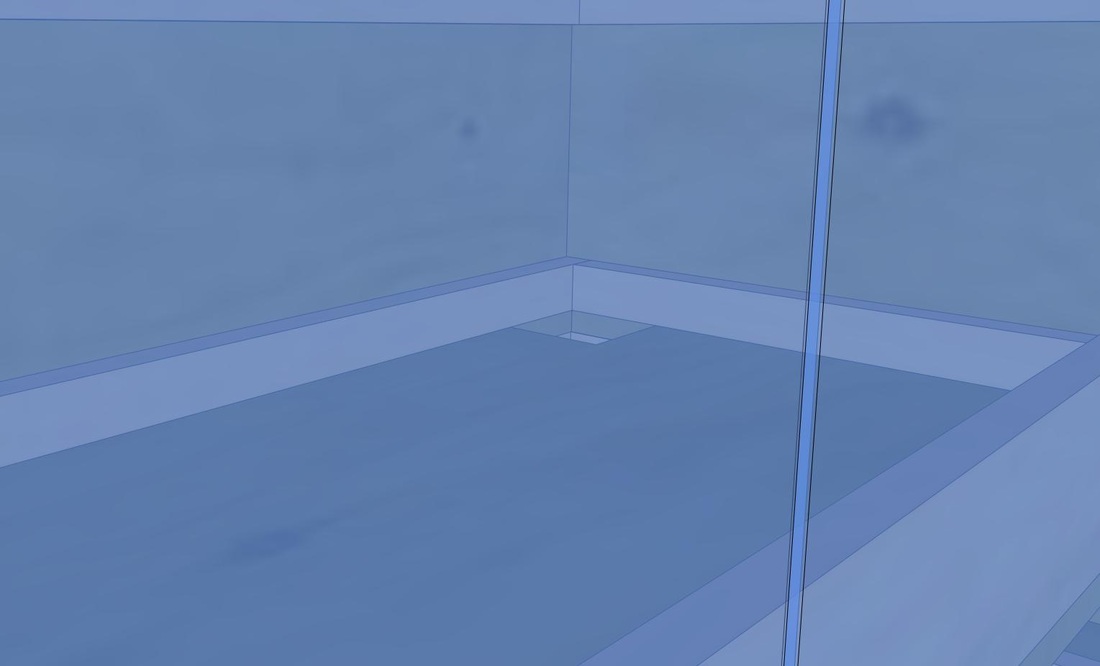
Usual degu house features - of course the normal requirements for a degu enclosure: access holes between levels, ventilation, distance between levels. and so on...
Castors.. Picture courtesy of BNQ. Click the image to see the product.
Plywood.. Picture courtesy of BNQ. Click the image to see the product.
Angle Bead.. Picture courtesy of BNQ. Click the image to see the product.
The materials cost for this project was broken down thusly:
Enclosure (including trolley, all sheet materials and batten frame, sliding door handles, mesh and metals). £210.00
Glass (2 x pieces, toughened, edged. 935 mm (H) x 510mm (W).) £70.00
Fortunately the glass only came to a round £56.00. This meant that the total cost of materials to build this enclosure was £265.00. In some cases I managed to source materials cheaper and in other places I spent more. Of the £265.00 I spent £262.40.
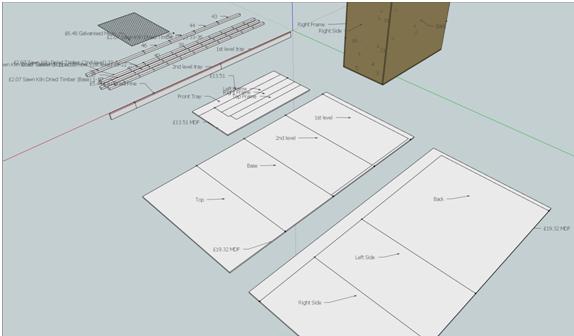
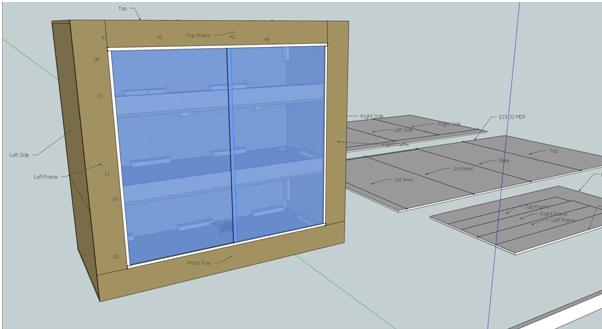
Designs
If you have been following the blog previously, you will recognise my final design - this one!
As I constructed the enclosure in Sketchup, I also added in the materials I was using to build it. Each time I added a material I marked on the required cuts to give me an idea of material usage and how to keep waste to a minimum.
One of three designs I worked on before deciding the final look.
There were a few changes to the designs throughout the build. During construction you often find that different set-ups provide more strength or that part of your design does not translate well to real life. Here are a few of the changes I made through the project.
Originally, I was considering having the main enclosure removable from the trolley, should the need arise. To this end, I planned on making the lid hinged to provide extra access during cleaning and to see the degus. However once the enclosure was on the trolley, it was clear that taking the enclosure off the trolley would be an unnecessary hassle. Because of this there was no sense in having a hinged lid; as the enclosure is nearly the height of the ceiling.
I decided to make a change to the location of the access holes. On all previous houses I have built, I have had two access holes on each level in the back corners. What this means, is that something must be placed over the access holes (like a small tunnel) to prevent the degus from falling through one hole all the way to the bottom. While this is fine for myself, for someone else I have chosen to take the safer route. Another benefit to this arrangement is that less bedding will fall to the bottom level over time.
The trolley was fairly strong without the additional support beams (which I felt spoiled the look somewhat). I chose to move the support beams up and hide them behind the pine panels which creates a unifying look. It cements the feel that the project is one whole item.
A few other things I changed:
I added additional ventilation to the side of the enclosure.
Rather than have a half level that ran along the back and sides of the enclosure is was easier to add one half level that simply stretched from one side to the other. This provided a slight increase in CARA.
To complete the look of the enclosure I added some pine strips to hide the metal runners.
Originally I was planning to simple butt joint all the frame work together. However it soon occurred that on a structure so tall and on wheels, stronger woodworking joints would be needed.
So guys! Check back next week for the part two of the review!
Providing detailed guides on how to construct and build degu enclosure, vivariums and cages. This blog has a focus on stimulating and creating more natural habitats for degus...